
Say goodbye to harsh chemical oven cleaners! Swap them out with something that’s gentle, yet powerful. Similar to using commercial cleaners, cleaning an oven naturally calls for time and a little bit of elbow grease without all the nasty toxins.
CLEANING AN OVEN NATURALLY
Correct me if I’m wrong, but I don’t think I’ve met a single person who enjoys cleaning their oven.
Like cleaning the fridge, scrubbing down that hardworking oven isn’t high up on anyone’s list of favourite afternoon activities.
It’s one of those chores that is often put off until it can’t be ignored any longer.
I know my oven is due for a cleaning when every time I turn it on, it smells like smoke from that pile of burned melted cheese that oozed from a frozen pizza.
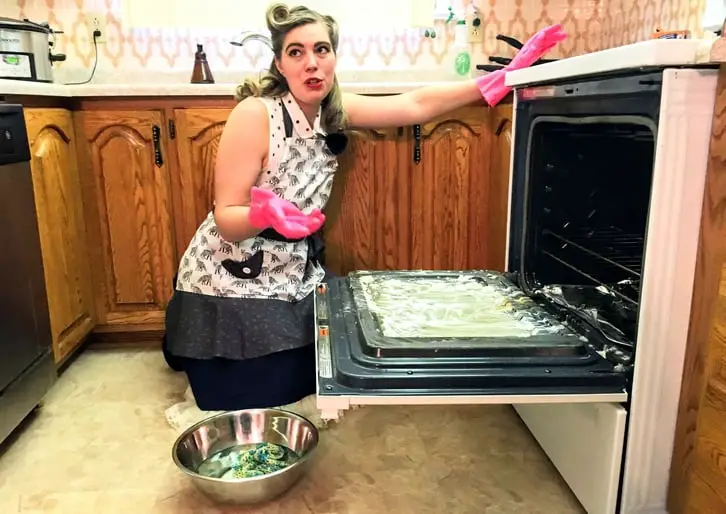
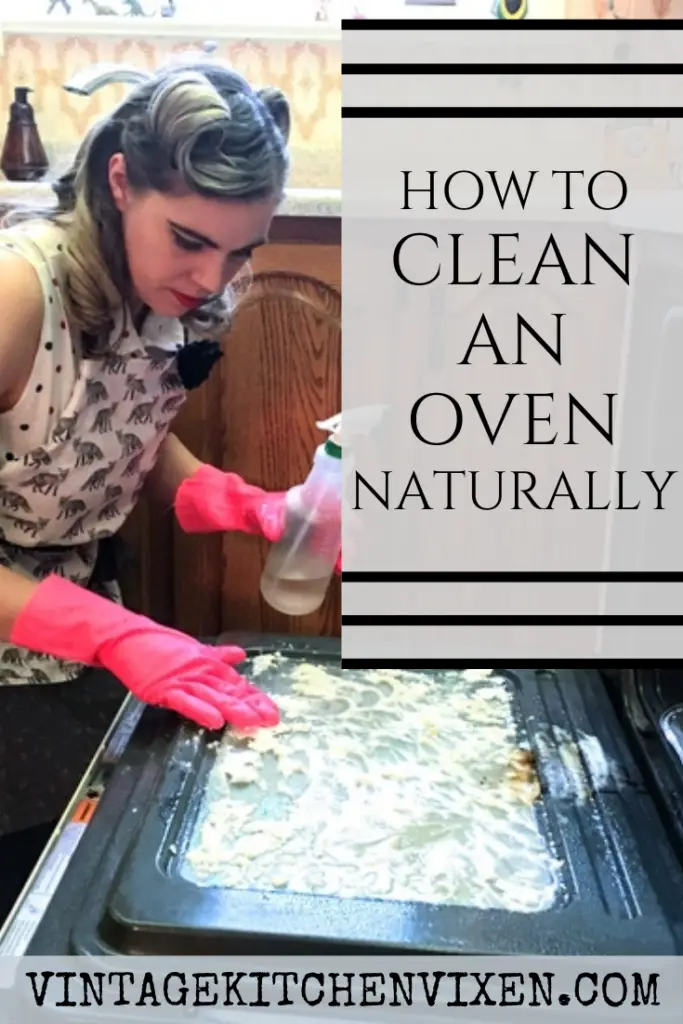
That’s a clear sign that it’s time to put on the pink rubber gloves and get to it.
Forget about the chemicals or the self-clean option, though. There’s a better way that won’t have you coughing up a storm or fearing for your skin.
CLEANING AN OVEN NATURALLY: THE VIDEO
I film something for every post I write, so here’s a video of me cleaning my oven without chemical cleaners. If you like what you see, I hope you’ll subscribe to my YouTube channel!
This post may contain affiliate links, meaning that if you choose to purchase something after clicking on one of the links in this post, I may earn a small commission at no additional cost to you.
RELATED: Make Your Home Sparkle with the FlyLady Cleaning App
WHY SHOULD I GIVE UP CHEMICAL OVEN CLEANERS?
REASON # 1: LESS ECONOMICAL
Compared to the natural ingredients, chemical oven cleaners come with a much higher price tag.
If you’re new to the Kitchen, know that I’m a frugal gal full of money-saving kitchen tips. I value old fashioned skills, and saving money is one of them.
Whenever you spend money, you’re voting with your dollars. The hard earned cash you spend goes in someone else’s pocket instead of your savings account. As the maxim goes, a penny saved is a penny earned.
REASON #2: CHEMICAL CLEANERS CHIP AWAY AT YOUR HEALTH
I’m not going to focus on what’s found within the contents of these cleaners. Apart from lye (the reason why these cleaners are so corrosive), there’s a bunch of other nasty chemicals in them that should be avoided.
If you currently have an oven cleaner under your kitchen sink, I suggest doing some light research. Look up the ingredients that are labeled or check out the Environmental Working Group’s list of oven cleaners.
The EWG breaks down a list of twelve different products across seven different brands and six companies. It’s an eye opener!
One of the cleaners I used to favour is on the aforementioned list (can you guess which one?). The EWG gave it an F due to the number of concerns the product raises.
These concerns surround respiratory health, developmental and reproductive toxicity, skin allergies, irritation, and cancer.
By the way, the highest grading products on the list got a D. To receive an A, the product needs to have “Few/no known or suspected hazards to health or the environment. Good ingredient disclosure.”
REASON # : THE CHEMICAL INDUSTRY DOESN’T CARE ABOUT YOU
This might sound harsh, but many of these companies are publicly traded and are therefore profit-driven.
The marketing teams for these companies are given huge budgets to spend on advertising their cleaning products every year. When’s the last time you saw an ad for a chemical cleaner?
There are better ways to clean, but those aren’t as profitable.
At the end of the day, these chemical pushers don’t care about you; they care about their investors, who care about profits. The bottom line is everything.
WHAT ABOUT SELF-CLEAN MODE?
If you didn’t know, self-cleaning ovens get so hot–anywhere from 600º to 1000º– that they burn everything away.
Once the oven is cool, all you have to do is clean out the ash residue.
This often means a smoky kitchen and sometimes a little fire in the oven if there’s grease. Additionally, carbon monoxide comes with the self-cleaning function, so hopefully you have a carbon monoxide detector set up!
If that isn’t enough, the inside of most ovens is coated in teflon, which is safe for day-to-day oven use. However, when the oven hits that high temperature point, the teflon releases toxic fumes that can harm your pets. Birds in particular are the most susceptible to these fumes, which can be fatal to them.
THE TWO INGREDIENTS FOR CLEANING AN OVEN NATURALLY
Only two ingredients? No need to pinch yourself, you’re not dreaming. Of course, there are more than two ingredients that will help you achieve your goal of cleaning an oven naturally, but two is all you need. And even though I love it, vinegar is not one of them. So, what are they?
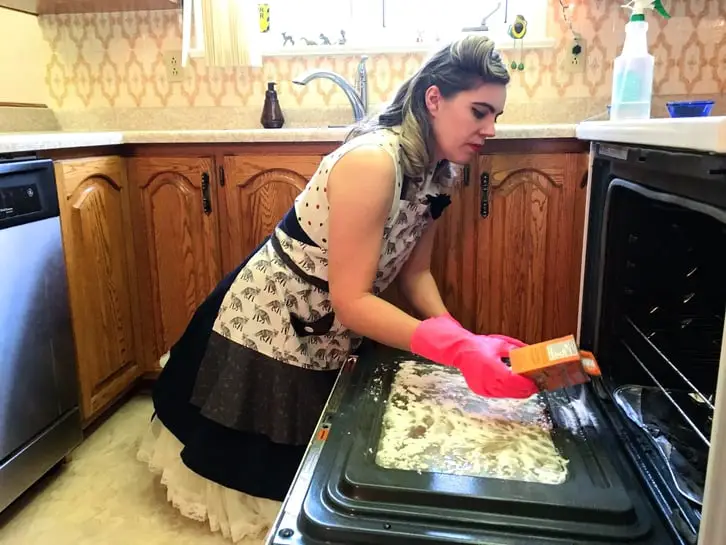
BAKING SODA
Oh, baking soda, you sly dog. There’s yet another use for you?
Also known as sodium bicarbonate, this gem is a real powerhouse of a cleaner. The gentle abrasiveness of this powder makes it a terrific scouring agent. In paste form, it will help loosen stubborn residues. The other ingredient? Well, to make the paste, we need…
WATER
Water! It’s so unbelievably simple that it seems too good to be true.
Vinegar reacts with baking soda and sadly, the foaming action does nothing to cut through the grease.
You know those little speckles that accumulate on the oven glass? Vinegar won’t help with that.
Combine baking soda with water though, and you have yourself a winning combination for cleaning an oven naturally.
MAKING AN OVEN CLEANING PASTE
There are two ways to make a cleaning paste with baking soda and water.
One way is to combine water with baking soda until it forms, well, a thick paste.
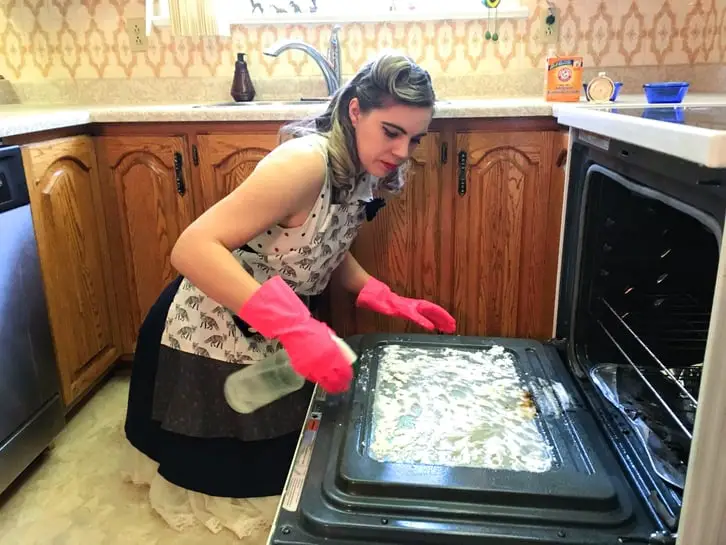
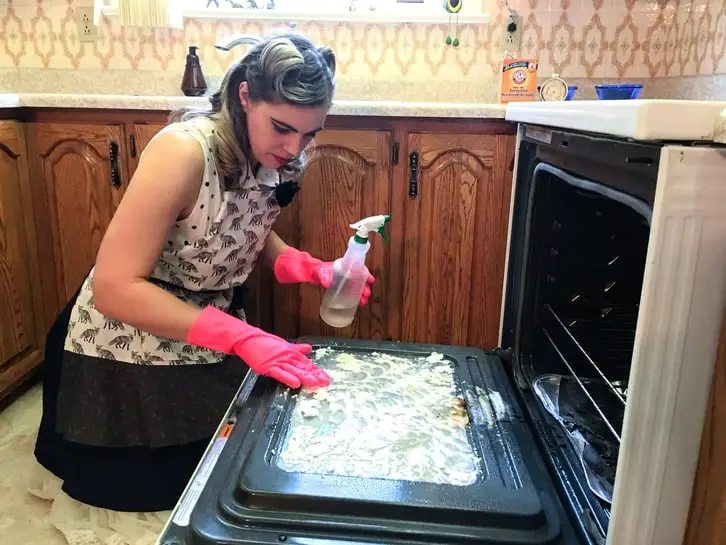
The other way is to sprinkle baking soda around your oven and spray it with water until it’s pasty. With the latter method, you will need to give it a swirl with your hands to mix it together. Either way, you’ll be smearing this paste around your oven to get the job done.
The longer you can keep the paste on, the better.
If you want to rush through this process, you can eke by with a twenty or thirty minute application. Giving it a couple of hours or an overnight stay is best, but if you pair the paste with a steam clean (more on that below), twenty minutes is more than enough.
It’s not as convenient as spraying a chemical, but you’ll find that this mixture will clean your oven right up. After the paste has had time to work its magic, simply wipe it all away with a damp rag. Be careful to avoid getting the paste on the element!
THE OVEN LINER
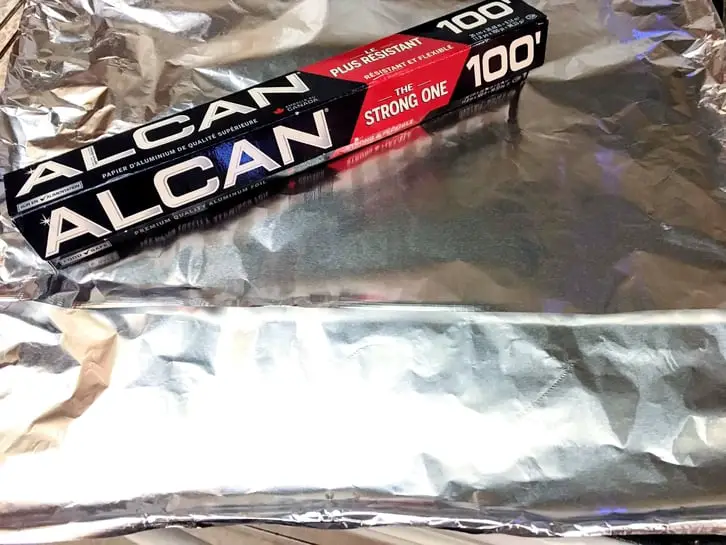
Here’s an easy hack for you. Use an oven liner to catch spills!
I’m pretty frugal about oven liners because I’ll buy one from the dollar store and line it with tin foil. If I have a spill, all I have to do is change the tin foil lining.
This means I get to extend the life of my dollar store liner until it begs for mercy. You can also get teflon liners, but they’re a lot pricier and they’re not recyclable.
Moreover, while having something non-stick is super convenient, I do have a beef with teflon. If you want to learn more, you can read about it in my post on cooking with cast iron.
CLEANING THE OVEN RACKS
Cleaning the oven naturally is a job that can take less than an hour.
Oven racks included, the total cleaning time is still under an hour, but there’s soaking involved.
When you clean the racks, plan on your oven being out of commission until the next day.
What you will do is fill your bathtub a 1/4 way with hot water. Add a bit of castile soap or dish soap. Castile soap, by the way, can be used to make a homemade dish soap.
Leave the racks to soak overnight. The next day, if your oven racks were desperate, you’ll notice a bunch of debris in the tub.
Roll up your sleeves, arm yourself with a scrub brush, and scour both sides of the grills. Rinse them, dry them, and pop them back into the oven. Done!
DO YOU HAVE A STEAM CLEANING OPTION?
One thing I would like to mention is that newer ovens have a steam cleaning function instead of a self-clean.
Whenever you have a big spill that the oven liner doesn’t catch, I recommend running this cycle.
Remove the oven liner from the bottom of your oven and pour in a 1/2 cup of water.
Depending on your oven, the cycle takes about twenty minutes to run.
Once the oven is cool enough to touch, simply wipe everything down with a cloth. If there’s a pool of water remaining, sop it up.
This is an easy way to avoid a bigger oven cleaning session in the future.
Steam cleaning is my favourite way to spruce up my oven. I will apply paste to the door to polish up the glass and the rest of the oven gets the steam.
ANOTHER WAY TO STEAM CLEAN
If your oven doesn’t have a built-in steam clean function, there’s another way around this.
Place an oven-safe dish that’s filled with water on the lowest rack of the oven.
Crank up the heat to 450º for twenty minutes to an hour depending on the state of your oven. Once the oven is cool, wipe everything down. Easy, right?
BEST PRACTICES FOR CLEANING AN OVEN NATURALLY
Here are some of the best practices I adhere to on oven cleaning day. Is there anything you would add? A natural cleaner that you swear by? I hope you’ll let me know in the comments below!
Always wear gloves. Oven cleaning is dirty work!If applying paste to the whole oven (sometimes I only do the door and steam clean the rest) remove the racks and liner beforehand.Empty out the bottom drawer before applying the baking soda paste.Wait to clean the bottom drawer until after the inside of the oven is clean. Sometimes liquid seeps out, so it might get messy.Put some music on while you clean! It makes the job more enjoyable, I find.
SHOP THIS POST
OTHER POSTS YOU MIGHT LIKE
10 Kitchen Reference Books Everyone Needs
PIN IT AND SHARE
Love and gratitude,


Leave a Reply