
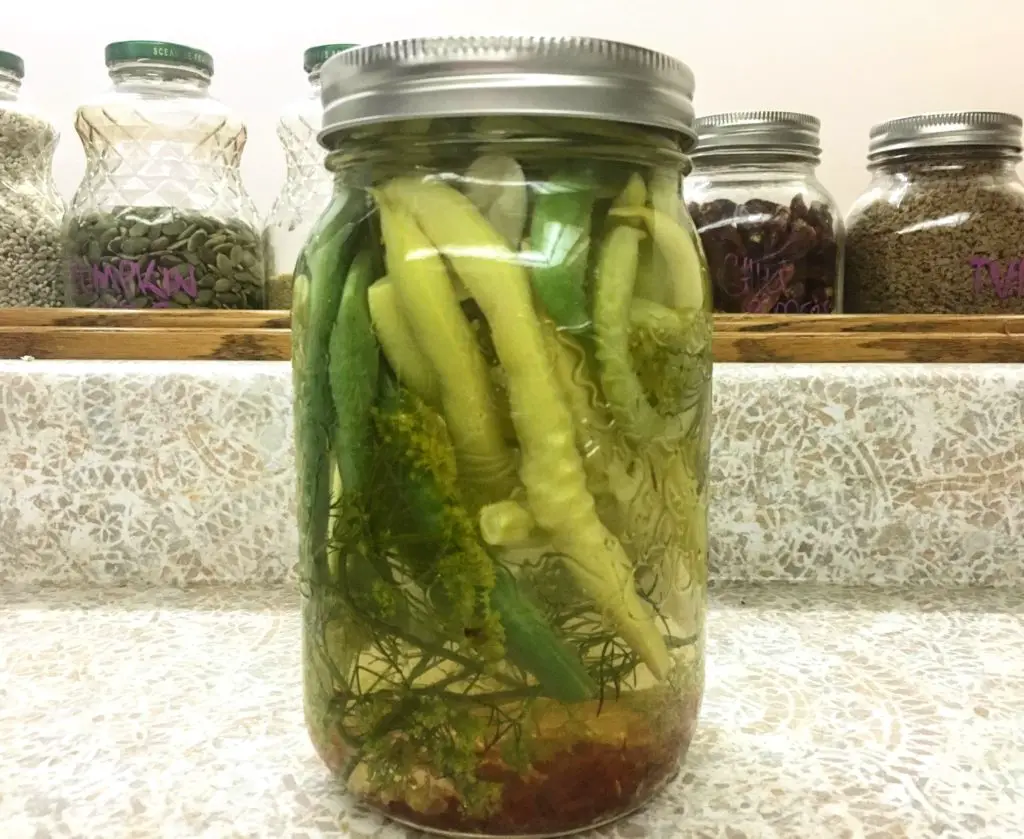
These one jar dilly beans are spicy, snappy and sour. Use them to take your cocktails up a notch, enliven your charcuterie boards, or for a cheeky out-of-the-jar snack.
MAKING ONE JAR DILLY BEANS
One jar dilly beans came about when I had a straggler harvest of beans in the garden and didn’t know what to do with them.
Green beans and yellow beans made an appearance at what seemed like every other meal that summer, but I never had enough to line my pantry with jars of dilly beans like I was hoping.
Staring at that bowlful of late harvest beans, the idea came to make a single jar that would go into my fridge straight away.
This post contains affiliate links, meaning that if you choose to purchase something after clicking on one of the links in this post, I may earn a small commission at no additional cost to you.
DISCLAIMER ABOUT ONE JAR DILLY BEANS
My recipe for one jar dilly beans is not a traditional canning recipe.
This is an ad hoc recipe that isn’t for preserving long-term as there’s no pressure canning involved.
If you are planning to gift these, make sure that the recipient knows that they need to be stored in the fridge.
With that being said, you can absolutely finish the jar off in a pressure canner, but I will not be covering that process today.
By the way, greens beans are alkaline, which is why they require pressure canning as opposed to water bath processing. There’s just not enough acid in green beans to ensure a safe preserve.
HOME MADE DILLY BEANS ARE SO MUCH CHEAPER
Have you ever seen Extreme Beans in stores? They’re dilly beans for cocktails, but they’re outlandishly overpriced. If there was a gold leaf floating around in the jars as you get with a bottle of Goldschläger, I would understand, but they’re just beans!
Maybe I’m exaggerating a bit because they’re only $5 a jar, but I’ve seen them sell for more, and we’re going to make double that for way less!
Even if you don’t have a garden, it’s cheaper to pick up a scant pound of beans and a bottle of vinegar at the grocery store than it is to buy a ready-made jar.
Also, there’s the satisfaction of making something from scratch. Since it’s only one jar, you don’t even need all the canning supplies a canning session requires.
EQUIPMENT NEEDED FOR ONE JAR DILLY BEANS
THE JAR
First off, you will need a one-litre jar. If you don’t have one of these, they’re not hard to find. I always keep a sharp lookout for them when I’m thrifting in second-hand stores because you can get them dirt cheap. I love using these large jars to store dry goods and to purchase dry goods in bulk.
You will also need a lid for your jar. Since we won’t be processing the beans for long-term storage, these screw-top lids are excellent.
A COUPLE OF POTS
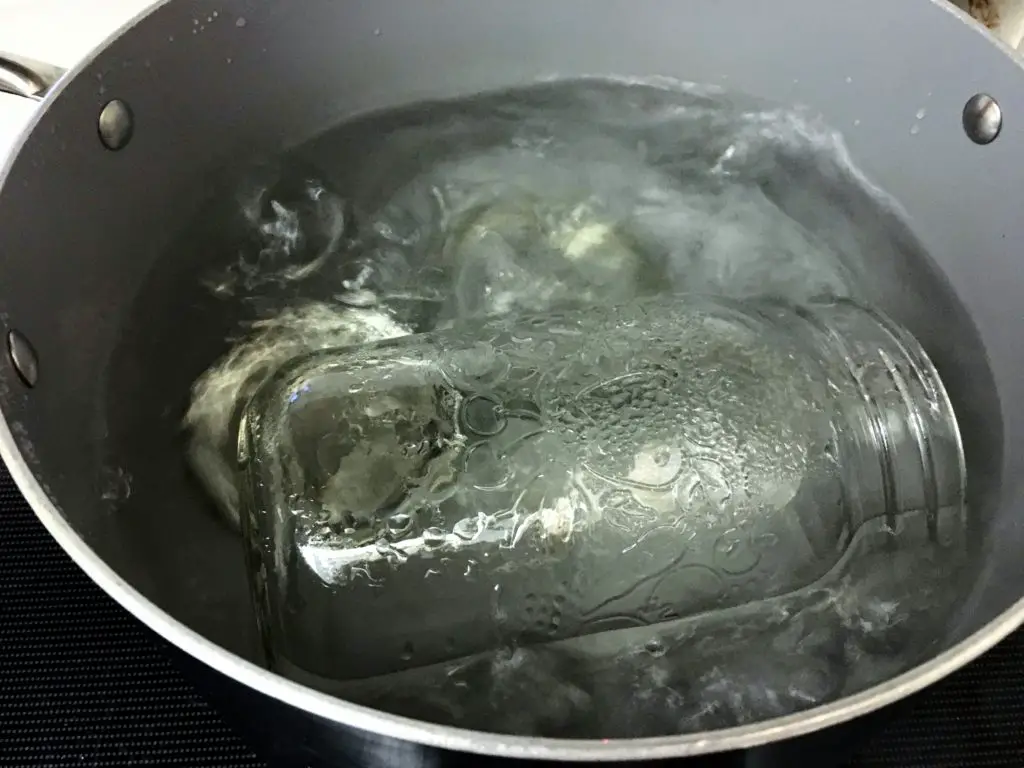
A large pot is needed for sterilizing the jar because even though it’s being stored in the fridge, we want to make sure there’s nothing icky lingering in the jar.
The second pot, on the other hand, can be a medium saucepan. This will be for the brine.
A CANNING FUNNEL
Canning funnels are specially designed to fit over mason jars. They help to keep the jars nice and neat, but if you don’t have a canning funnel, you may use a regular funnel.
If you watch the video below (or on my YouTube channel) you will notice that Big Papa, my husband, uses a regular funnel. He didn’t know what a canning funnel was or that we even had one!
TONGS
Tongs are key for safely removing the hot, sterile jar from the pot. Scissor tongs are my favourite tool for the job because you can easily tip out the water without much trouble.
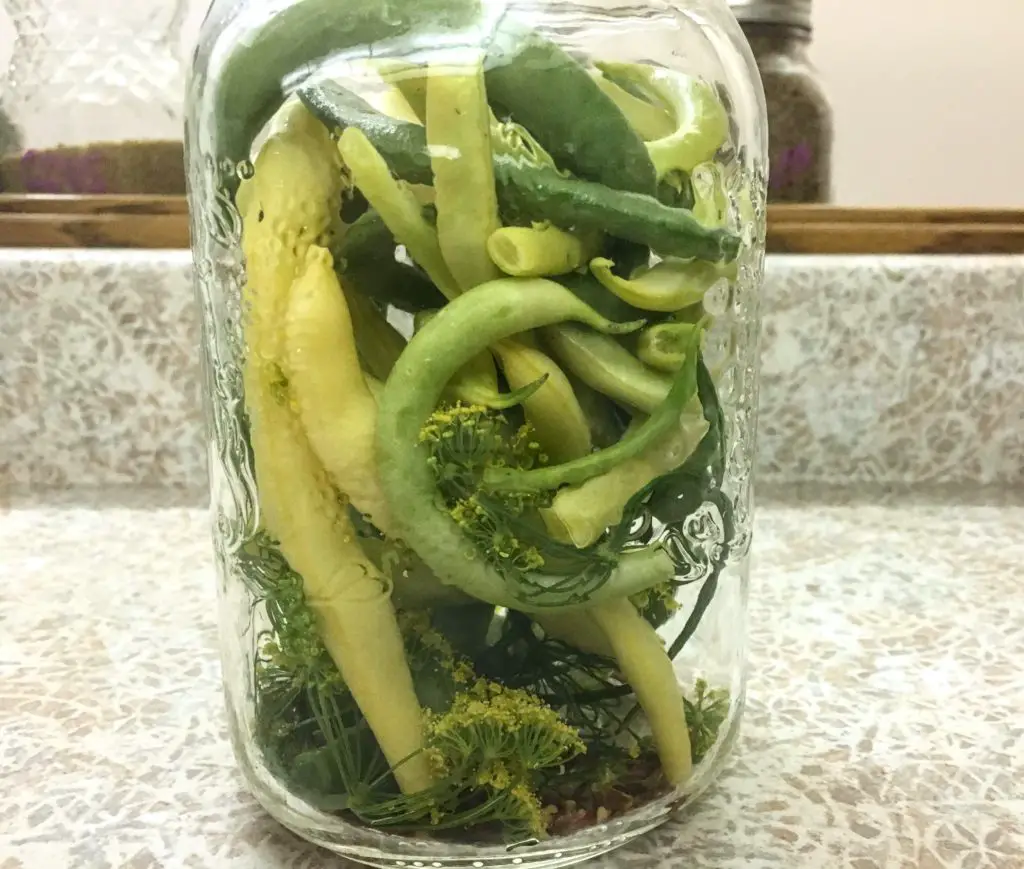
USING DILL FLOWERS
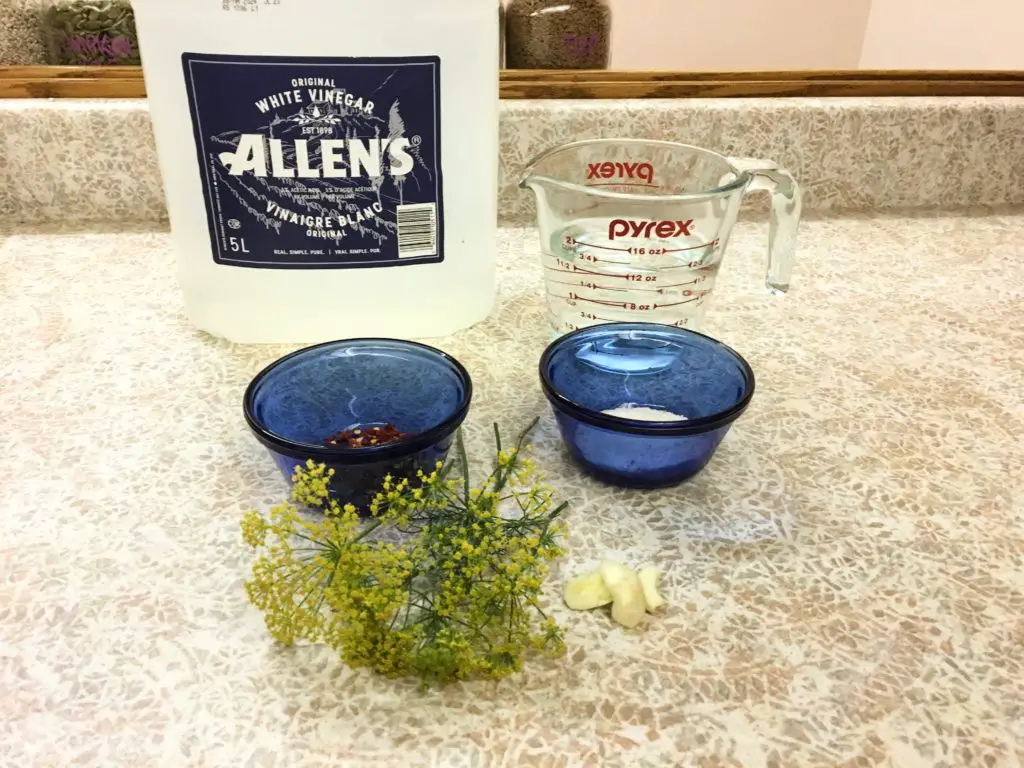
The ingredients for this one jar dilly beans recipe couldn’t be simpler, except, there’s the matter of dill flowers.
Dill flowers have a more potent flavour than the leaves or seeds, which is why they’re perfect for dilly beans.
I realize that not everyone can get their hands on these iconic yellow flowers, so if you’re not in the minority of people who have access to dill flowers (and really, it’s a small window in the span of the year that we do have access), just use a couple of teaspoons of dill seeds instead. Maybe two or three sprigs of dill too because it’s pretty.
WHAT CAN I DO WITH DILLY BEANS?
When I was a kid, one of my favourite things to pilfer from my mom’s pantry was a jar of dilly beans. I adore pickles, so they were right up my alley. Apart from snacking on them, there are a number of creative ways that dilly beans can be used. Use them to…
Garnish cocktails, like caesars (basically a Canadian's spin on a bloody mary), martinis, and savoury margaritas.Liven up charcuterie boards.Spice up a tuna salad for an extra crunch factor.Take your burger to the next level.Toss them into pasta salads.
WHAT ABOUT YOU?
Have you made dilly beans before? Have you ever made a single jar at a time? What’s your favourite way to eat dilly beans? I hope you’ll tell me your story in the comments below!
SHOP THIS POST
ONE JAR DILLY BEANS INGREDIENTS
2 cups white vinegar
1.5 cups water
2 tbsp salt
1 tbsp sugar
2 garlic cloves, crushed
1 tsp chili pepper flakes
4 dill flowers or 2 tsp dill seeds
Enough beans to fill the jar (less than a pound)
ONE JAR DILLY BEANS INSTRUCTIONS
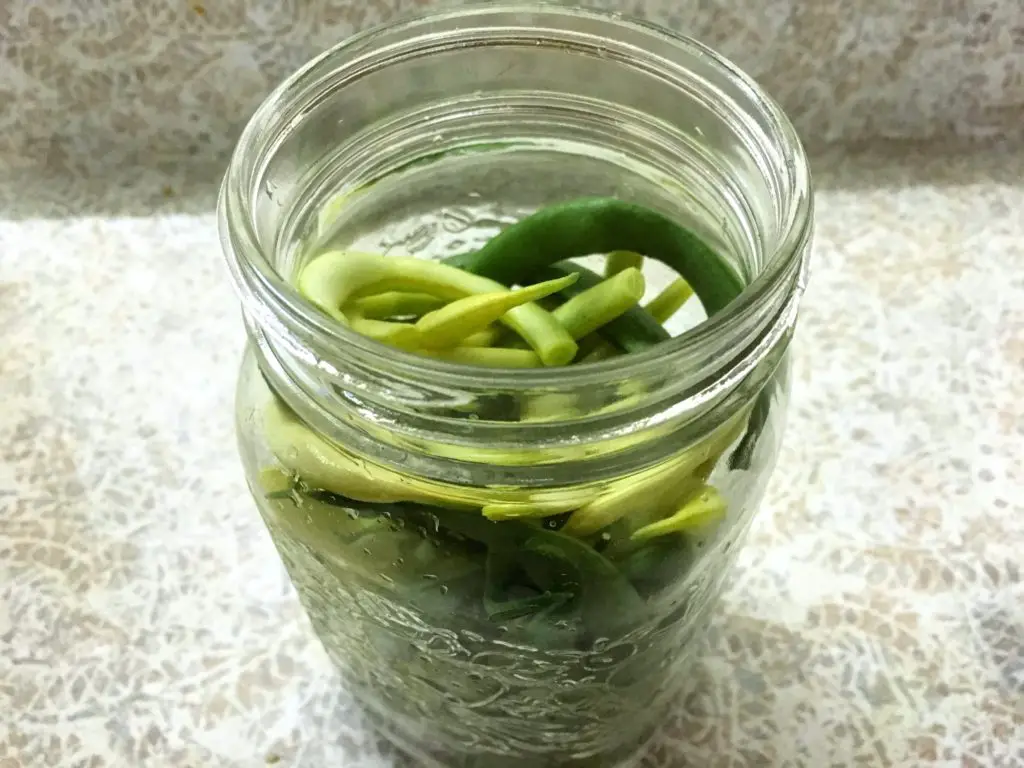
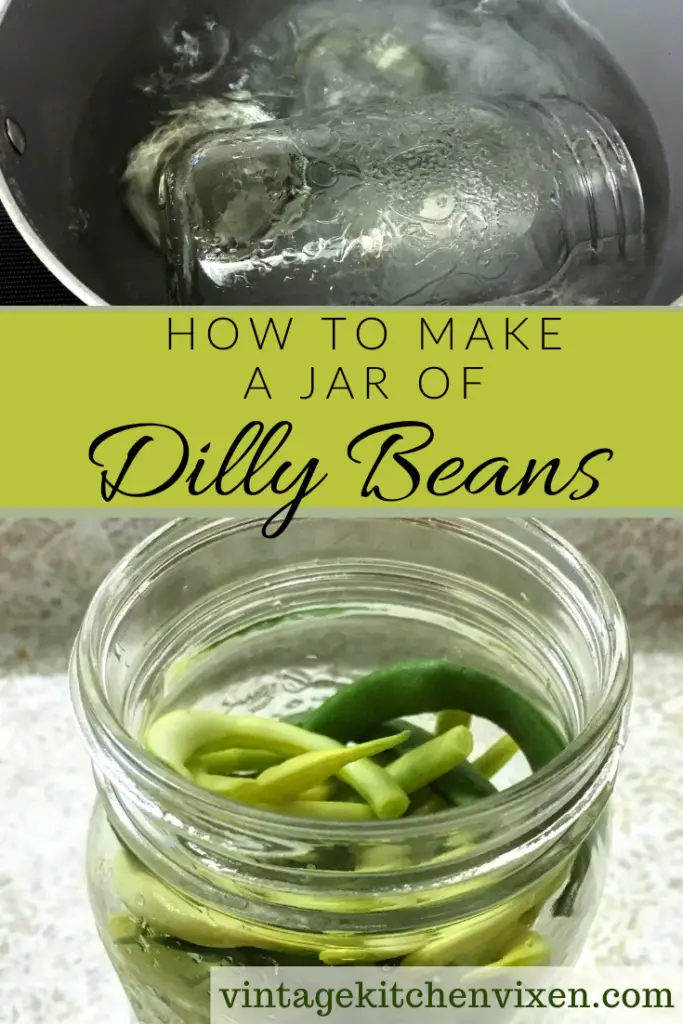
Sterilize the mason jar in a large pot of water by boiling it in water for five minutes. Keep warm. If you are using a mason jar lid, sterilize it by pouring boiling water over it in a bowl.In a medium saucepan, add the water, vinegar, salt and sugar.Bring everything to a boil and keep it bubbling on medium high for five minutes until the salt and sugar are dissolved.Usingtongs, remove the hot jar from the pot.Add the chilli flakes, crushed garlic, dill flowers, and the beans to the jar.Funnel the hot brine into the jar making sure that the beans are completely submerged.Screw on the lid and allow to cool before transferring to the fridge.
PRINTABLE ONE JAR DILLY BEANS RECIPE CARD

One Jar Dilly Beans
Ingredients
- 2 cups white vinegar
- 1.5 cups water
- 2 tbsp salt
- 1 tbsp sugar
- 2 garlic cloves crushed
- 1 tsp chili pepper flakes
- 4 dill flowers or 2 tsp dill seeds
- enough beans to fill the jar less than a pound
Instructions
- Sterilize the mason jar in a large pot of water by boiling it in water for five minutes. Keep warm. If you are using a mason jar lid, sterilize it by pouring boiling water over it in a bowl.
- In a medium saucepan, add the water, vinegar, salt and sugar.
- Bring everything to a boil in the saucepan and keep it bubbling on medium high for five minutes until the salt and sugar are dissolved.
- Using tongs, remove the sterilized jar from the pot.
- Add the chilli flakes, crushed garlic, dill flowers, and the beans to the jar.
- Funnel the hot brine into the jar making sure that the beans are completely submerged.
- Screw on the lid and allow to cool before transferring to the fridge.
Video
Notes
- Wait a week before digging into the dilly beans.
- To preserve these for the long term, make sure to get out any lurking air bubbles before processing the beans via pressure or water bath.
PIN IT FOR LATER
Love and gratitude,


I love one jar wonders. I do this often for so many things especially when it’s just the 2 of us. Thanks for sharing this-it’s amazing 🙂
Now I’m burning with curiousity! What are all these one jar wonders you speak of, Jersey? What am I missing out on?
I have never heard of dilly beans! I am saving this recipe for next season when I have a garden. Thank you.
I’m so glad I could introduce them to you then! If you like dill pickles, you will love dilly beans 🙂
I tried this dilly bean recipe and I think the 2 tablespoons of salt are possibly supposed to be teaspoons because it was way way way too salty
Do you blanch the green beans first?
No, I don’t! The hot vinegar softens them enough.
After they are in the refrigerator can you take them out and store on a shelf?
No, they won’t keep on the shelf. They’re basically fridge pickles. Beans need to be pressure canned to be safely stored on a shelf.