
Seriously the best gingerbread cookies ever. Bring out your stand mixer to make these bakery perfect holiday treats. Soft, spicy, and decorated with royal icing, everyone will be clamouring for them!
Do you know those cookies you see packaged up in cellophane with gorgeous icing work?
The ones that can keep fresh for a month and still taste amazing?
Maybe yes, maybe no?
Well, this is one of those types of cookies, and we’re talking pure ingredients.
A month before the holidays hit, these bakeries are cranking thousands of cookies to prepare for the holiday season. Large batches of dough are made and are manually cut out. They’re baked, they’re iced, and they’re packaged, ready to sell to customers throughout the month of December.
You’ve struck gold, my friend.
These are the best gingerbread cookies ever, and you’re going to love them.
RELATED: Heavenly Maple Bourbon Pumpkin Pie
HOLIDAY GINGERBREAD COOKIES WITH ROYAL ICING VIDEO
Best gingerbread cookies? This is a bold claim. If you don’t feel like reading, you can watch what I have to say and see this recipe in action. If you like my video, make sure to subscribe to my YouTube channel!
This post may contain affiliate links, meaning that if you choose to purchase something after clicking on one of the links in this post, I may earn a small commission at no additional cost to you.
RELATED: Heavenly Almond Biscotti (an edible gift idea)
GINGERBREAD COOKIES: WITH OR WITHOUT ROYAL ICING?
This is a question you need to ask yourself up front.
I am not going to lie and say that these are easy cookies to make.
This is a process that can take up to four days if you ice them.
If you don’t want to ice them, then yes, these are going to be easy, but they are so much better with icing.
I have never made these cookies without icing, so I don’t know if that impacts their shelf life in any way.
When it comes to icing, there are two scenarios you’re looking at:
Basic icing work. You bake them, you ice them, and they dry, meaning they'll be ready the next day.Intermediate icing work. You bake them, you outline them, they dry, you flood them, they dry, you add the details, they dry. This is the four day process.
THIS ISN’T A CRASH COURSE IN DECORATING COOKIES
While I will be walking you through the process of intermediate icing work (which I believe you can do even if you’re a beginner) I am not a decorator.
I will not be showing you how to pipe designs on your cookies.
Decorating has never been my passion or my strength.
Like most skills, cookie decorating can be developed with time and practice.
For designs, Pinterest has hundreds of thousands of ideas to inspire and entice you.
If you have even a modicum of artistic flair, you will excel at cookie decorating.
If you do not, you will still do well if you stick to basic designs as I do.
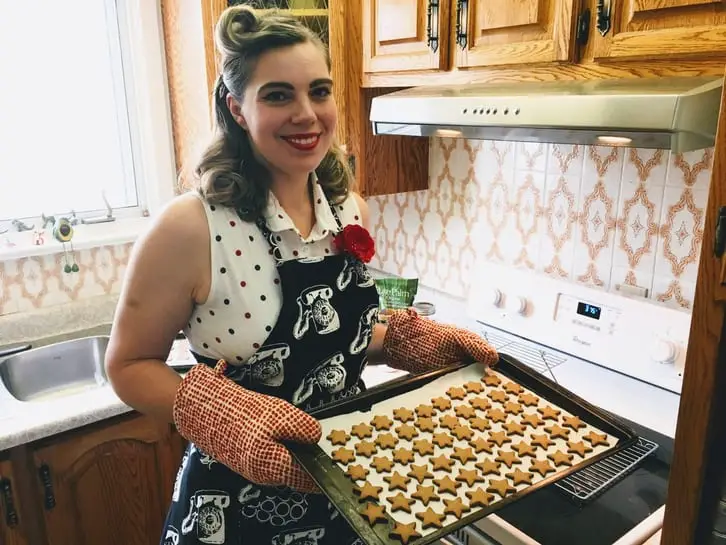
HOLIDAY READY GINGERBREAD COOKIES
Let me be clear. This recipe can be made year-round.
I’ve made them for Valentine’s Day, Easter and Halloween, so don’t let my Christmas theme fool you.
There’s no denying that the winter holidays love the spicy, rich flavours that are found in gingerbread, which is why they’re such a big hit.
Gifted in a pretty tin, a mason jar, or packaged up in cellophane baggies, they make a thoughtful handmade gift or easy stocking stuffers.
If you bring a platter of these to a party or to the office, you will be the darling of the day.
Or, you know, you can put them in the cookie jar for the family to enjoy.
They’re your cookies. You can do anything you want with them!

CAN I MAKE GINGERBREAD COOKIE DOUGH IN ADVANCE?
You sure can! Stored properly, this dough can be refrigerated for up to two weeks, or frozen for up to two months.
Make sure it’s tightly wrapped in plastic wrap and then doubled up with a freezer bag to protect it from potential fridge odours or freezer burn.
Making the dough in advance is a great way to prep for the holiday season. It’s a small thing, but it can make all the difference in a busy schedule.
WHAT DO I NEED TO MAKE THE BEST GINGERBREAD COOKIES EVER?
FOR THE DOUGH
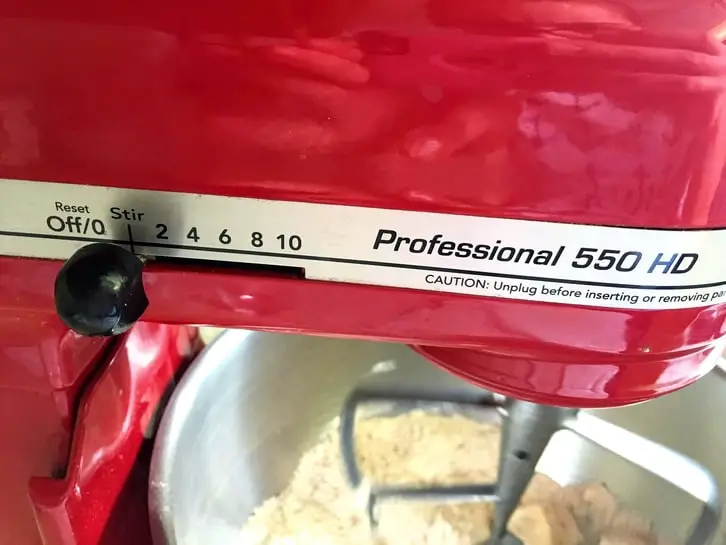
STAND MIXER
This one is a given considering the title of this article.
There’s a lot of mixing involved with these cookies, so be prepared for me to get specific with mixing times and attachments.
Have your paddle, dough hook and whisk attachments ready and waiting.
Normally I like mixing my recipes by hand, but there’s enough manual work in the recipe that I don’t mind letting the stand mixer do some of the work for me.
Also, I have zero interest in mixing royal icing by hand!
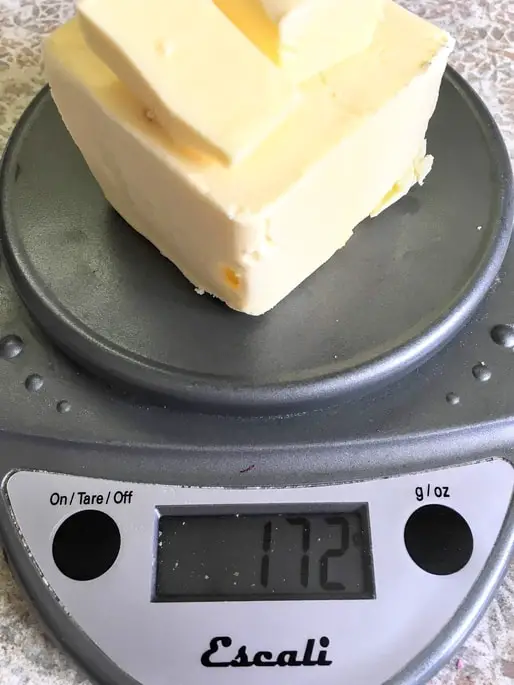
KITCHEN SCALE
If you don’t have a kitchen scale, what are you waiting for? Go out and get one!
When I bake, all of my measurements are weighed out for precision. It’s part of my pastry training and I want to invite more folks to the party.
Baking is a science, and a scale is such a handy thing to have in the kitchen!
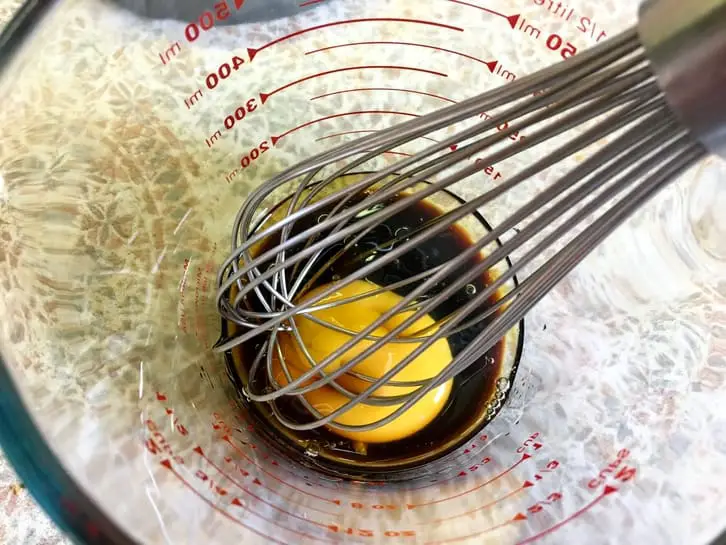
WHISK
The whisking is minimal. At one point you’ll need to mix the wet ingredients together before adding them to the mixing bowl. A whisk works best. Everyone has a whisk, right?
BAKING SHEETS
Count on using 4-5 baking sheets for this recipe.
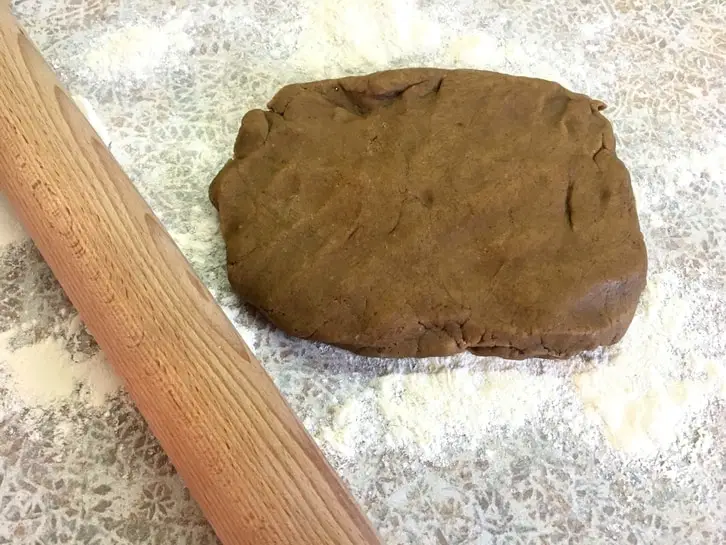
ROLLING PIN
You’ll be rolling out your cookie dough from 1/8-1/4″ thickness. In a pinch, a wine bottle will save the day if you can’t find your trusty rolling pin.
PARCHMENT PAPER
You will need to line the baking sheets. Not only will the cookies not stick, but you won’t need to scrub icing off of the pans. Plus, parchment paper is compostable. If you have silicone baking mats, even better.
COOKIE CUTTERS
What’s the occasion? Are you baking for Christmas? Valentine’s Day? Easter? Halloween? Thanksgiving?

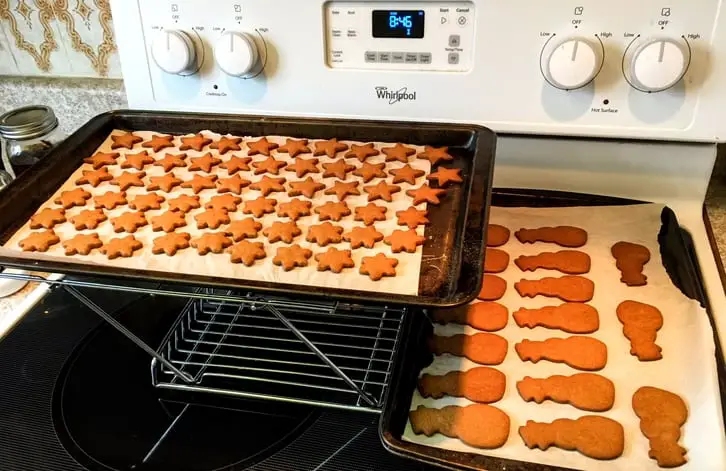
COOLING RACKS
Once the first tray of cookies is in the oven, I’ll cut out and tray the next batch. When the timer goes off, I pull out the hot sheet from the oven and set it on a cooling rack while the next tray goes in. I have limited counter space, so a cooling rack is essential.
TOOLS FOR THE DECORATING THE BEST GINGERBREAD COOKIES
If you’re not a stranger to decorating, chances are you’ll have some of this stuff, if not most of it. If you’re new, welcome to decorating! You’ll need quite a few things, but I’ll try to keep this list as minimal as possible.
PIPING BAGS
For outlining, I prefer a smaller 8″ piping bag. For flooding, a 12″ bag. If I had to pick only one, it would be the 12″ bag. If you want to keep the icing mess minimal, you can use bag ties (a rubber band will work, too), or you can be like me and try to be careful. My method sometimes ends in me being covered in icing that oozes from the top. Oops!
PIPING TIPS
For outlining and detailing, you will want a size 3 or 4 round tip. For flooding, I would use a 4 or 5, therefore, if I had to pick one tip to work with, it’s a 4.
COUPLERS
This little plastic attachment ensures that your piping bag can be fitted for more than one piping tip and it also gives you cleaner lines.
You can also go the route of disposable plastic piping bags and forget about couplers, but I think a coupler is the more environmental-friendly option.
ICING SPATULA
This is used to mix up the icing for piping. If you don’t already have one, you can get away with using the handle of a spoon, or something similar.
SPATULA
Everyone should have at least one good spatula in their kitchen. This one is my favourite. It’s pricy, but it’s one piece, it’s heat resistant, and I’ve had mine since 2010.
FOOD COLOURING
Even if you don’t want to colour your icing, you should colour your icing. Let me explain.
While royal icing is snow-white, when it dries on gingerbread, it takes on a yellowish tinge. To circumvent this, you can use a whitener, which is a combination of water, violet, and royal blue food colourings.
You will find a DIY whitener recipe if you keep scrolling down.
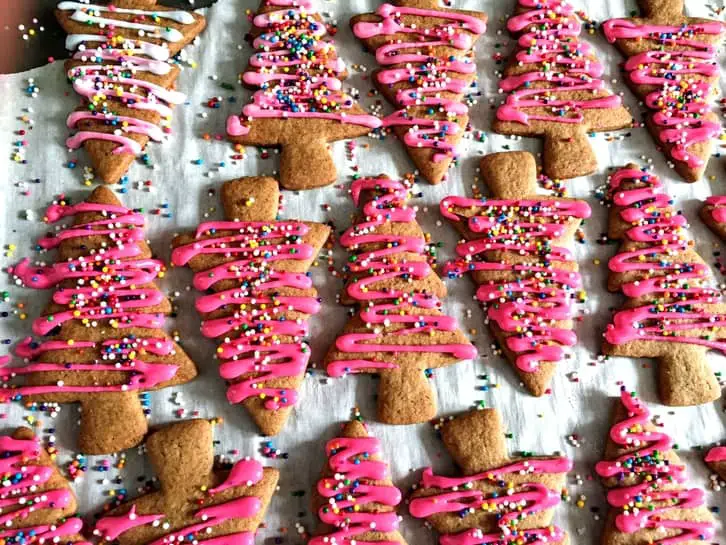
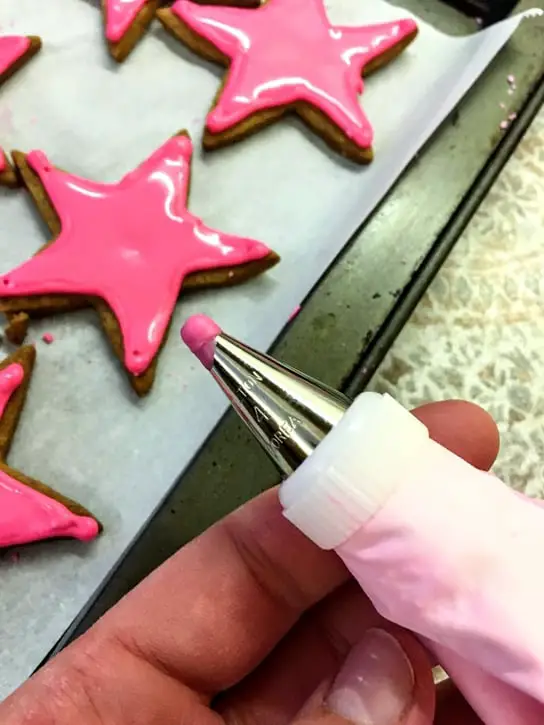
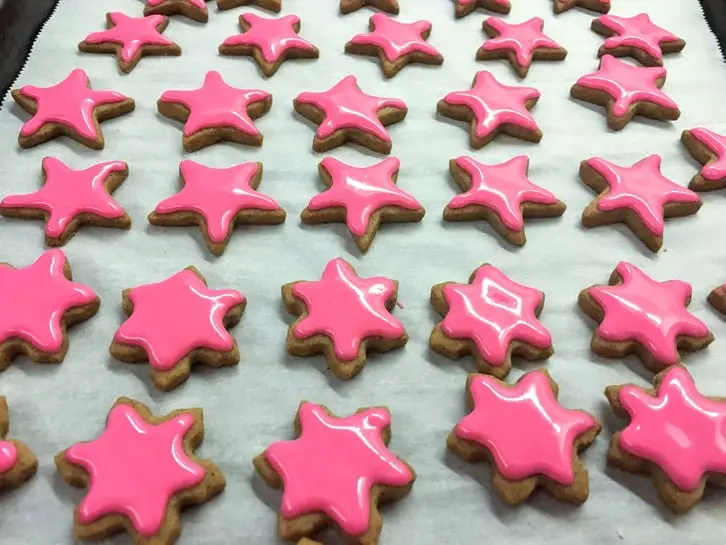
If my vibrant pink cookies caught your eye, I used Wilton’s Rose Icing Colour, which is a gel. I use the exact same product to make the whitener, too, but you can get away with liquid violet and royal blue.
Gel, by the way, will give you ultra-vibrant colours, if that’s what you’re after. If you want a more subtle finish, opt for liquid food colouring.
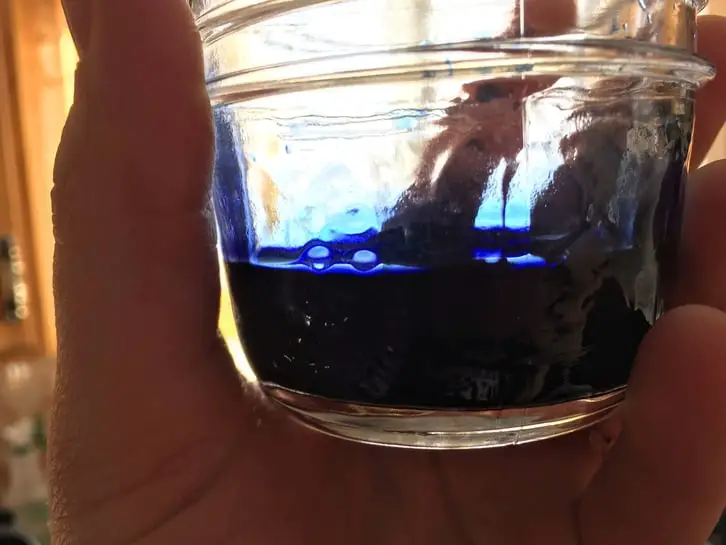
DIY whitener for royal icing. CONTAINERS FOR MIXING
I practice a frugal and vintage skill called saving yogurt containers and jars. Decorating is one of those times I’m grateful for my collection, as small yogurt containers make the perfect receptacles for storing and mixing royal icing.
TOOTHPICKS
You will need one of these to go over your cookies once they’re flooded. If you notice anything that resembles an air bubble, poke it with the toothpick!
DAMP KITCHEN TOWEL
Do not overlook this important tool because you will definitely want to have one on hand! These are handy not only to clean up any icing spills, but you should also periodically clean the piping tip.
Also, if you need to set down your piping bag for whatever reason, the tip should be covered by the towel to keep it from developing a crust.
GINGERBREAD COOKIE DECORATING PROCESS
Cookies can never cool fast enough, can they?PREP THE ICING BAG
Once all of the cookies are baked according to the instructions below and are completely cooled, the decorating fun begins. Arm yourself with your piping bag, size 4 piping tip and your coupler and assemble them together.
When it comes time to add the icing, the top of the bag should be folded down, covering your hand (unless you have a holder, of some sort).
To prevent icing from dripping once the bag is filled, preemptively stuff part of the bottom of the bag into the tip.
MIX THE ICING FOR OUTLINING
Portion off some of the icing in a separate container and mix in your food colouring.
If you’re using gel, be careful! That stuff is incredibly potent and the tiniest amount goes a long way.
If it’s needed, add a wee bit of water. It should be thick enough to hold its shape, but supple enough to flow out the tip without much ado.
OUTLINE THE COOKIES
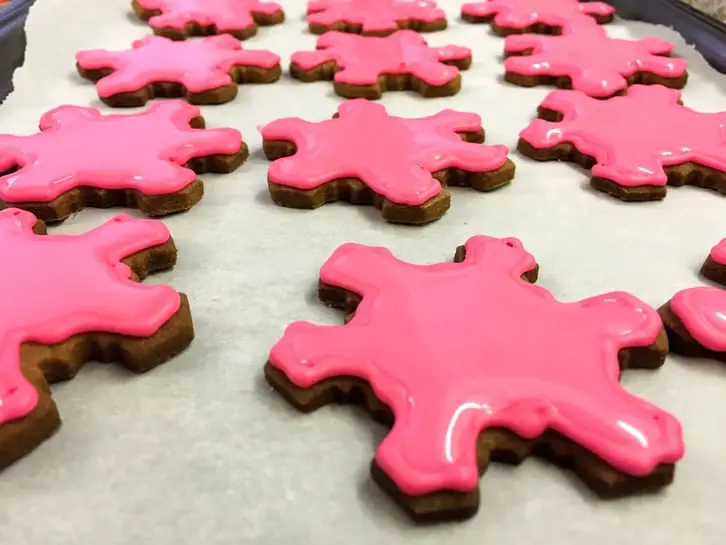
If you’re making large cookies, outline all of them in preparation for flooding. If you’re making mini cookies, you can fill them in right away. Once the cookies are outlined, allow them to dry overnight.

PREPARING THE ROYAL ICING FOR FLOODING
The same preparation that took place the previous day applies. Mix in the food colouring, then begin adding water in tiny increments. The icing should fall in a smooth, flowing cascade.
FLOOD THE COOKIES
Fill in the cookies with the royal icing. Find the centre of the cookie and squeeze out the icing, letting it pool and flood outward.
Guide the icing where it needs to go.
If your icing is too thick, you won’t be able to do this. Another method is almost like colouring the cookie with the icing.
Allow the cookies to dry for 24 hours.
PIPING THE DETAILS
Prepare a thick royal icing that’s akin to what you used to outline the cookies.
Pick a colour that contrasts.
If you want white detailing, you won’t need to add any whitener as the gingerbread is already iced.
If you’re stuck on what to do for creative designs, Pinterest has hundreds of thousands of ideas waiting for you. You’re bound to find a couple of cool designs to test out and play with.
Once the detailing is finished, let it dry overnight before packaging.
BEST PRACTICES FOR MAKING DOUGH FOR THE BEST GINGERBREAD COOKIES
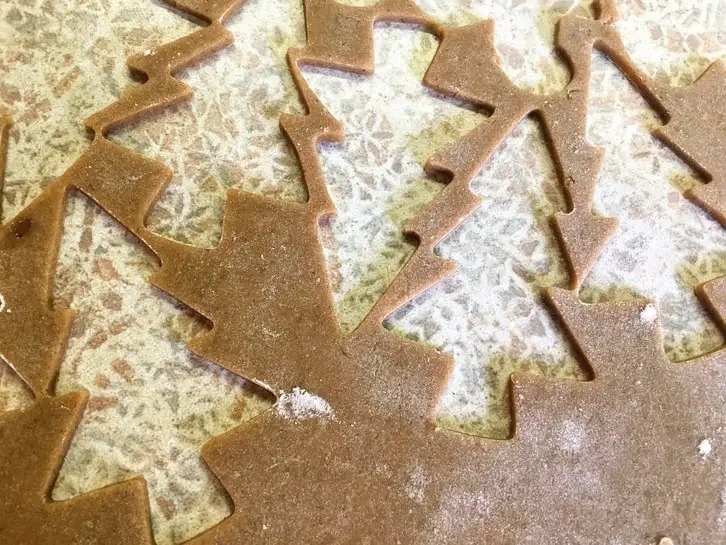
Measure out all of your ingredients with a kitchen scale.Taste the dough after you mix it, because quality control is important!Chill the dough for a minimum of two hours.The dough can be stored in the refrigerator for up to two weeks.If the dough is too stiff when it's pulled from the fridge, let it warm up on the counter a bit before rolling it out.Always dust your work counter with flour.
BEST PRACTICES FOR DECORATING GINGERBREAD COOKIES
Use a whitener if you want a white icing for the cookies (see recipe below).When working with royal icing, always keep it covered with saran wrap when not in use. The plastic wrap needs to be in direct contact with the icing. If you need to step away from your piping bag, cover the tip in a damp cloth to prevent it from hardening.When outlining, don't touch the tip to the cookie. Hover ever so slightly and guide your icing to where you want it to go.When flooding, you can either press down on your bag to release the icing, guiding it to where it needs to go, or you can 'colour in' the cookie.Go over flooded cookies with a toothpick, poking at anything that resembles an air bubble.


INGREDIENTS FOR THE BEST GINGERBREAD COOKIES
THE GINGERBREAD
DRY INGREDIENTS
320g all-purpose flour
150g dark brown sugar
4g baking soda
5g ground ginger
4g ground cinnamon
1/8 tsp ground nutmeg
1/8 tsp ground cloves
1/2 tsp salt
WET INGREDIENTS
38g egg
25g fancy molasses
7g water
OTHER INGREDIENTS
170g unsalted butter
THE ROYAL ICING
300g icing sugar
23g meringue powder
scant 1/4 cup water
THE WHITENER (OPTIONAL)
25g water
3g violet food colouring
2g royal blue food colouring
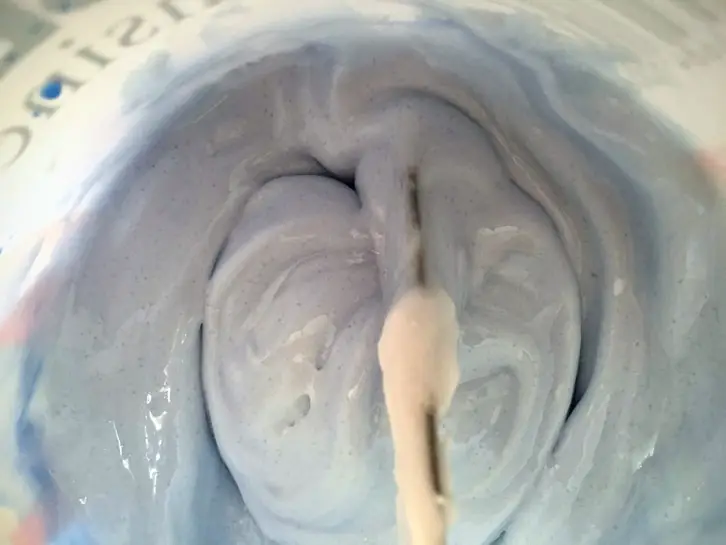
When adding whitener to icing, this is the colour you should be aiming for. It will dry white, white as snow, I promise!METHOD FOR THE BEST GINGERBREAD COOKIES
THE GINGERBREAD
Preheat the oven to 375ºF / 190ºC.Excluding the brown sugar, sift all of the dry ingredients into the stand mixer bowl.Using a paddle attachment, mix all of the dry ingredients together on low (including the brown sugar) for 2 minutes.Cream the butter with the dry ingredients on low for 4 minutes.Whisk together the wet ingredients.Switch out the paddle attachment for the dough hook attachment.Add the liquid ingredients and mix on low for 3 minutes.Mix on medium speed for 6 minutes.Wrap it in plastic wrap and chill for a minimum of two hours.Roll out the dough to 1/8-1/4" thicnkess, cut out the cookies, and bake each tray for 8-9 minutes.Cool.
THE ROYAL ICING
Sift the powdered sugar into the bowl of a stand mixer.Add the meringue powder and the water to the bowl.Mix on low until the risk of being covered in icing sugar has passed, then increase the speed to medium.Slowly stream in water until the icing looks glossy and falls in a thick, flowing sheet when tested.Store in a lidded container and cover it with plastic wrap. The plastic wrap needs to be in direct contact with the icing.
THE WHITENER
Mix all of the ingredients together in a small glass jar until combined.
PRINTABLE RECIPE CARD

Best Gingerbread Cookies Recipe
Equipment
- Stand mixer with paddle, dough hook, and whisk attachments
- Baking Sheets
- Containers for mixing
Ingredients
DRY INGREDIENTS
- 320 g all-purpose flour
- 150 g dark brown sugar
- 4 g baking soda
- 5 g ground ginger
- 4 g ground cinnamon
- 1/8 tsp ground nutmeg
- 1/8 tsp ground cloves
- 1/2 tsp salt
WET INGREDIENTS
- 38 g egg
- 25 g fancy molasses
- 7 g water
OTHER INGREDIENTS
- 170 g unsalted butter
THE ROYAL ICING
- 300 g icing sugar
- 23 g meringue powder
- scant 1/4 cup water
THE WHITENER (OPTIONAL)
- 25 g water
- 3 g violet food colouring
- 2 g royal blue food colouring
Instructions
THE GINGERBREAD
- Preheat the oven to 375ºF / 190ºC.
- Excluding the brown sugar, sift all of the dry ingredients into the stand mixer bowl.
- Using a paddle attachment, mix all of the dry ingredients together on low (including the brown sugar) for 2 minutes.
- Cream the butter with the dry ingredients on low for 4 minutes.
- Whisk together the wet ingredients.
- Switch out the paddle attachment for the dough hook attachment.
- Add the liquid ingredients and mix on low for 3 minutes.
- Mix on medium speed for 6 minutes.
- Wrap it in plastic wrap and chill for a minimum of two hours.
- Roll out the dough to a 1/8-1/4" thickness, cut out the cookies, and bake each tray for 8-9 minutes.
- Cool.
THE ROYAL ICING
- Sift the powdered sugar into the bowl of a stand mixer.
- Add the meringue powder and the water to the bowl.
- Mix on low until the risk of being covered in icing sugar has passed, then increase the speed to medium.
- Slowly stream in water until the icing looks glossy and falls in a thick, flowing sheet when tested.
- Store in a lidded container and cover it with plastic wrap. The plastic wrap needs to be in direct contact with the icing.
THE WHITENER
- Mix all of the ingredients together in a small glass jar until combined.
Video
Notes
BEST PRACTICES FOR MAKING GINGERBREAD DOUGH
Chill the dough for a minimum of two hours.The dough can be stored in the refrigerator for up to two weeks or frozen for up to two months.If the dough is too stiff when it's pulled from the fridge, let it warm up on the counter a bit before rolling it out.Always dust your work counter with flour.
BEST PRACTICES FOR DECORATING GINGERBREAD COOKIES
Use a whitener if you want a white icing for the cookies (see recipe below).When working with royal icing, always keep it covered with saran wrap when not in use. The plastic wrap needs to be in direct contact with the icing. If you need to step away from your piping bag, cover the tip in a damp cloth to prevent it from hardening.When outlining, don't touch the tip to the cookie. Hover ever so slightly and guide your icing to where you want it to go.When flooding, you can either press down on your bag to release the icing, guiding it to where it needs to go, or you can 'colour in' the cookie.Go over flooded cookies with a toothpick, poking at anything that resembles an air bubble.
SHOP THIS POST
Cookie cutters for Christmas, Valentine’s, Easter, Halloween, Thanksgiving
Food colouring: rose, royal blue, violet
PIN IT FOR LATER
Love and gratitude,


Wow, these look amazing! I will have to add these to my to-do list!
Thank you so much, Jersey! I hope you love them as much as I do 🙂
Love using the mixer, I need the extra help 🙂 I prefer some with glaze and other times if I am dunking in my cup of Joe, no glaze. Great detailed post! As always! I love gingerbread, it smells so awesome!
It really does! Who needs to light a scented candle when you have gingerbread in the oven?
These look so good! I’ve never made gingerbread cookies before. Maybe one day I’ll give it a shot!
And they taste even better than they look!
Those look like they would make a perfect addition to a handmade Christmas bag!! What a great, detailed tutorial and recipe!
I think you’re right, Anja! Thank you so much 🙂