There are so many gardening lessons to be learned. Here are twelve of the biggest takeaways from my first year of outdoor gardening.
12 GARDEN LESSONS I LEARNED THE HARD WAY
Before we begin, I want to say that I spent a decade dreaming about having a big garden. My mother liked keeping a sizable garden and I loved working in it as a teenager.
For as long as I daydreamed about working the earth, I kept a container garden on just about every apartment balcony I had. I mostly grew herbs.
My basil would always die and squirrels would rob me blind whenever an heirloom tomato started to ripen.
When I finally had the opportunity to have a real vegetable patch and herb bed, this is what I learned.
12 GARDEN LESSONS: THE VIDEO
If you’re new to the Kitchen, welcome! For every post that goes live, there’s an accompanying video to go with it. If you like what you see, I hope you’ll subscribe to my YouTube channel!
This post may contain affiliate links, meaning that if you choose to purchase something after clicking on one of the links in this post, I may earn a small commission at no additional cost to you.
1. ALWAYS FEED THE SOIL BEFORE PLANTING
To give some context, I moved into my house one cold December. The first time I viewed it was in early October and I got a thrill seeing tomatoes growing in the backyard.
By the time I moved in, there was a thick layer of snow on the ground and I didn’t see the yard again until late April.
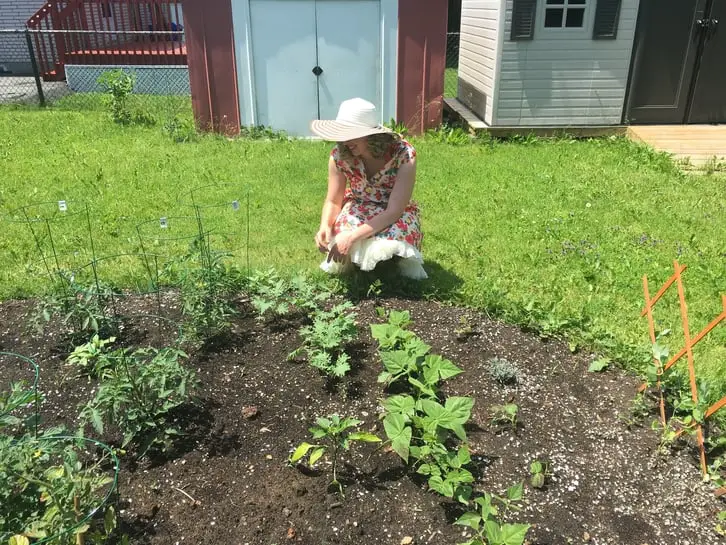
As soon as the ground was soft enough to work, I sowed my first seeds and dug in transplants, not bothering to test or feed the soil.
It’s unlikely my poor patch was fed at the end of its last growing season and it’s something I don’t think my mother even does. However, gardens work hard to give us a fruitful yield and it’s up to us to give back to them at the end and beginning of the season.
Happy soil makes happy plants!
2. WATER THE SOIL, NOT THE LEAVES
I love being in the garden, so every evening before dusk I could be found diligently watering the plants.
It was a hot summer, so they were thirsty. I soaked everything, the leaves and the soil alike. Then something dreadful happened.
I started noticing a gray mould growing on my zucchini plants.
I tried cleaning them, spraying them with a homemade solution to ward off the disease instead of pulling them up or changing what I was doing.
The problem?
The leaves were too wet.
Needless to say, I am now more attentive with my watering. One thing I’m doing is saving plastic bottles to turn into water reservoirs. This way, particularly thirsty plants can get what they need when they need it.
Moreover, there’s a book I’m currently reading called Biodynamic Gardening that taught me that it’s not a bad idea to deprive plants of water every so often. It encourages them to send their roots deep in search of water, which helps them tap into more nutrients.
Whatever the case, there should be a regular watering schedule in place so plants know when to expect their next drink.
3. WATER IN THE EARLY MORNING
There are two schools of thought when it comes to what time to water a garden.
Some people swear by early morning watering, and others prefer watering in the evening. I belonged to the latter group until I brought up the mouldy zucchini plants to my mom.
My Oma, who had the biggest green thumb I know, swore by early morning watering. That way the water is able to evaporate throughout the day instead of being wet all night. There’s going to be dew anyway, so why bother with a late watering?
Early fall was hectic for me as I was working full-time, so there was no time for me to run outside to water the garden first thing.
It’s tricky taking care of a garden all by yourself when you have time constraints, which is why the modern victory garden should be a family affair like it was in WWII.
With all that being said, the absolute worst time of day to water is in the afternoon during peak sun. The water will just evaporate, so it’s a waste of resources!
4. KNOW YOUR ZONE
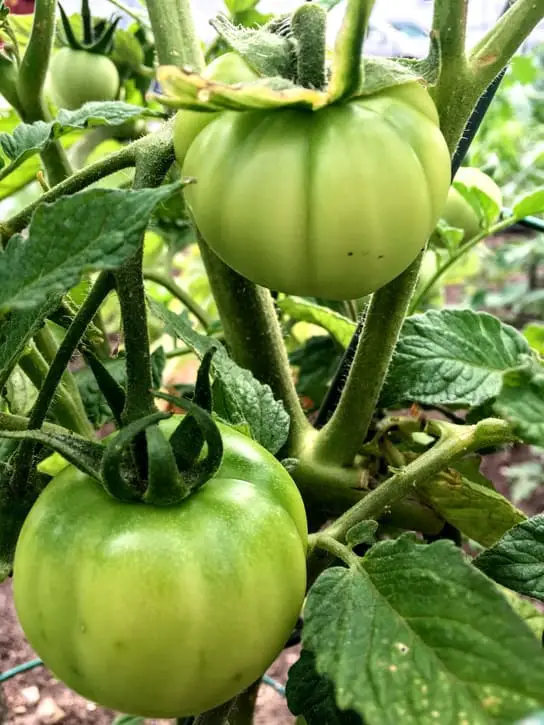
It can get confusing when you crack open your first gardening book and they keep referencing different zones.
How do you know what zone you’re in? Why does it even matter?
I knew garden zones were a thing and that some plants thrive in specific climates, but I didn’t realize just how valuable it is to know your zone.
Of the 12 garden lessons, this is probably the most important one.
I paid no heed to my zone that first year. Seedlings were started inside without any mind for whether I was starting them too early or too late.
I transplanted geraniums too early, so they spent the whole season looking miserable while they recovered from the shock of my carelessness.
Then, at the end of August, I got excited by the idea of a second planting and sowed beets, squash and cucumbers. They shot up, but then Canadian weather shut them down and they died.
The following year I ran an internet search and learned all about the zone for my specific area. I printed off a full two-page schedule advising when I should start seedlings indoors.
It informed me when to harden the plants, when to get them in the ground and when to harvest. Then there are also reminders about when I should think about preparing the beds for planting. It’s great!
Most garden nurseries will also have this information available. If they’re not being slammed on a weekend, leverage the staff’s knowledge; they will likely be more than happy to assist!
5. DON’T BOTHER WITH EGG CARTONS
This isn’t my first time admitting this, but I’m a frugal gal. I would rather spend money on heirloom seeds that will yield me plants with good growing seeds than on the containers to start them.
When I saw someone using egg cartons to start their plants on Pinterest, I knew I had found a winning solution. How wrong I was!
All winter long, I diligently saved up my egg cartons, anticipating my seedlings. I added soil to them, planted the seeds, watered them and covered them up in plastic wrap.
Once they started shooting, I kept watering them, but there was still a ways to go before they were ready to be planted outdoors.
Over time, the water bogged down the cardboard until it all but disintegrated on me. What a mess! Maybe I overwatered my plants, but I’m telling you, there are better ways to be frugal. Using a soil blocker is one of them.
6. HARDEN YOUR PLANTS AND DON’T PLANT TOO EARLY
I just alluded to this above, but it’s so important to harden your plants before you plant them.
It’s kind of like bringing a goldfish home from the pet store. You need to acclimatize them to the new temperature before letting them explore their new home.
When you start seedlings indoors, or even clones, they need time to adjust to the great outdoors, which is seldom at room temperature in the spring, especially at night.
Begin by bringing plants outside during the day and then slowly build their strength up by leaving them out at night. If you plant them before they’re ready, they won’t do well and you’ll have a weak crop.
I’m embarrassed to admit that a number of my transplants went in too early because I was overeager. I didn’t have the yield I was dreaming of, that’s for sure!
7. THIN THE PLANTS
You work hard to prepare the soil, you sow seeds, and when they start shooting up, you’re beyond thrilled to see them push through.
If you’re like me, you’re so smitten with the plants that you can’t bear to pull any of them out.
That’s a HUGE mistake!
My weakness made my garden weaker because too many plants were competing with each other for nutrients.
Every seed packet you get your hands on will inform you how far to space seeds and plants apart. Once they shoot up, it’s imperative to thin the plants.
I am stronger now, and so is my garden!
8. USE COFFEE GROUNDS AND EGGSHELLS
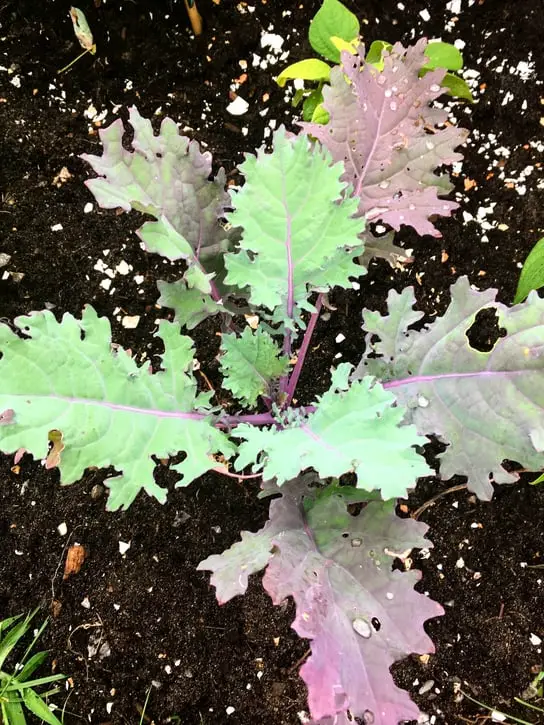
This is a tip I learned from my aunt who saw my struggles on Instagram. Like me, she’s a fan of all things vintage and loves learning about daily life during WWII.
One thing she told me is that coffee grounds, tea leaves and eggshells were a cheap, easy way to nourish the soil.
Again, I’m frugal and I also adore vintage tips, so I fell in love with this one!
COFFEE GROUNDS
Being an avid coffee drinker, I started keeping a bowl of used grounds that I would regularly share with my garden.
Coffee grounds provide nitrogen and it’s said that they also help to ward off pests. Some folks are concerned that coffee grounds (and tea leaves) make the soil too acidic and that they should be reserved for the compost pile.
Others say that the grounds keep things neutral as long as they are used. If it’s of concern, test your soil! Most crops like neutral soil.
EGGSHELLS
In addition to being a coffee fiend, I also love eggs. I like eggs so much that I even wrote a post all about how they work in recipes!
After cracking open an egg, I rinse the shell, let it dry, and toss it in a container reserved for shells. Once I accumulate enough, I crush them and scatter them over the soil.
One thing I was worried about last season was the pirate squirrels in my backyard. I swear that the eggshells kept them at bay because they poked at their little paws. It’s only a theory, though!
The benefit of adding eggs to the garden is that they enrich the soil with calcium. However, it takes some time for the calcium to trickle into the soil, so it’s best to work eggshells into the soil at the end of the season.
If you have enough after saving them up over the winter season you can even use them as mulch!
9. SNOW PEAS NEED TO CLIMB
We’re really moving along with this list of 12 garden lessons, aren’t we? Let me tell you about my snow peas.
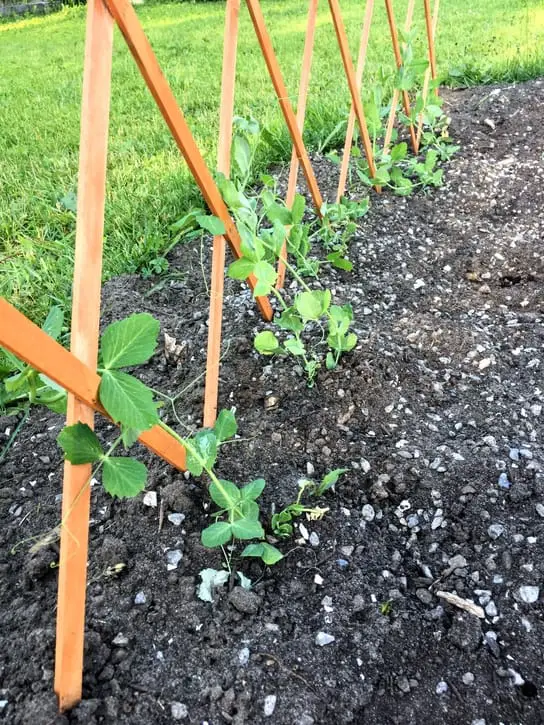
I planted a row of snow peas the first year, completely ignorant of the fact that they need to climb. There was a reason why I purposely sowed bush beans! Staking intimidated me, so I wanted to avoid it, but when my snow peas started drooping, I knew something was wrong.
I called my mom who was incredulous. How did her daughter not know this?
I went out, bought a little trellis and tried coaxing the snow peas to wrap themselves around their newly installed support. I just wish I would have known to sow more for a continual harvest!
10. THERE’S A RIGHT WAY TO PLANT LEEKS
One day I came home with a potted leek plant and happily dug it into my garden. When my mom came to visit in June, I proudly showed her my little victory garden. She was flabbergasted. “Sylvia, you’re supposed to separate the leeks…”
Oops!
Thus, I separated my leeks and replanted them. Since the leeks were one of the last things that I planted, I was largely out of garden space, so I sneaked them in wherever I could. They didn’t really bounce back after that and I had a hard time keeping them happy, so I still have some reading to do on leeks.
I didn’t end up harvesting any leeks because they were pretty scrawny, but my aunt says that the trick is to let some of them stay in the garden over winter for early spring leeks. Then, if you leave a few alone, they will flower, spread their seeds, and keep you rolling in free leeks. We’ll see what I have come spring. My backyard is still covered in snow!
11. HARVEST ALL THE HERBS
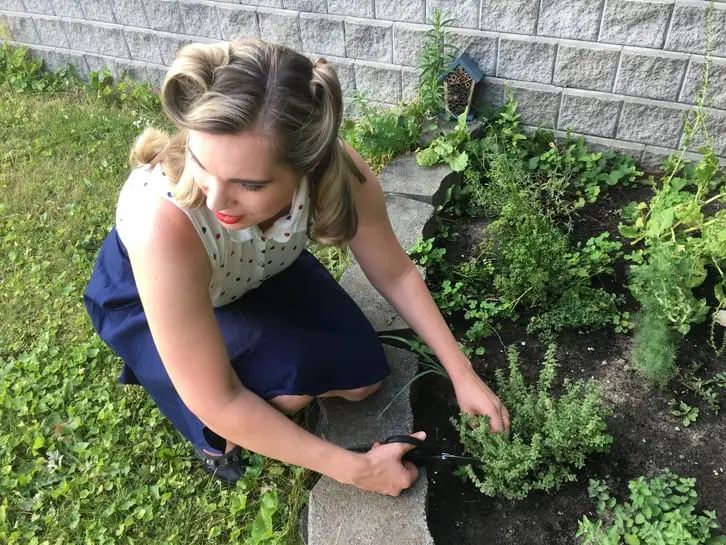
There is nothing quite like dashing out the backdoor to snip some fresh herbs to add to a recipe. When summer is a distant dream, being able to use dried herbs from the garden is a beautiful thing.
Tucked away in the back corner of my yard is my herb garden. At the end of the season it brims with parsley, mint, chives, oregano, lemon thyme, summer savoury and dill. I tried growing basil, too, but basil was one plant I could never seem to keep happy.
When the first flowers started appearing on my herbs, I panicked. Instead of beginning to harvest them as I should have, I hastily snipped off the flowers, hoping that would do something.
What I didn’t realize is that flowering herbs are a sign that it’s time to harvest them. The more flowers the plants get, the more their flavour deteriorates.
By the way, pruning is encouraged throughout the growing season as it keeps herbs from getting too scraggly. However, I should have brought in way more herbs than I did.
My summer savoury died shortly after it flowered and my thyme was covered in flowers when I finally set my gears in motion. And since preserving herbs is just as important as harvesting them, I highly recommend this post from Farmhouse Basic Collection.
12. ROTATE CROPS
When my tomatoes started coming in, my next-door neighbour asked me if I had a problem with rotten bottoms. He showed me what he was talking about and I shook my head.
Apparently, it’s a problem in the neighbourhood, and sure enough, some of my tomatoes suffered the same fate. I have since learned that this condition is called blossom end rot and that it is a calcium imbalance rather than a disease.
This is probably unrelated, but my neighbour has grown his tomatoes in the exact same spot for the last few years and the last homeowner grew tomatoes in the same bed I planted my tomatoes.
Tomatoes and other members of the nightshade family (like eggplants and peppers) need to be rotated every year and it’s recommended that they stay away from that original spot for at least 3-4 years. If they stay in the same spot, harmful microbes build up that will affect the health of the plants.
This is one reason why having a plan for your garden is a good idea because you can do year-by-year comparisons. Crop rotation helps to ensure a healthy soil balance and that the nutrients don’t get super skewed.
For example, corn is a bit of a nutrient vacuum, so nitrogen-rich plants should go in the following year to help restore balance to the earth. It’s a good habit to have, and since it was my first year of gardening, this will be my first year practicing crop rotation!
THANK YOU FOR DROPPING BY THE KITCHEN!
Are you new to gardening, too, or are you a seasoned veteran? What are some of the most important lessons you have learned in your own gardening adventures? If you’re brand new, what’s your biggest takeaway from this list? If there’s anything I’m off about in this post, please don’t hesitate to set me straight in the comments below! I’m hungry for your gardening pearls of wisdom!
SHOP THIS POST
Biodynamic Gardening (a book I’m presently learning a lot from)
OTHER POSTS YOU MIGHT LIKE
Tips for a More Sustainable, Frugal Kitchen
Victory Borscht Recipe (a war-time recipe)
PIN IT FOR LATER
Love and gratitude,


Hi Sylvia,
There is good information for new gardeners like me , I am from Australia and wanted to plant peas, I had tried to start a lot of flowers and herbs from seeds but never succeed , I plant peas last year but just few seeds I wish I sow more seeds and I didn’t used trellis, that’s what I want this years .
Thank you for share you experience