Don’t toss those precious pods in the compost after scraping out that fragrant black gold — get everything you possibly can out of them!
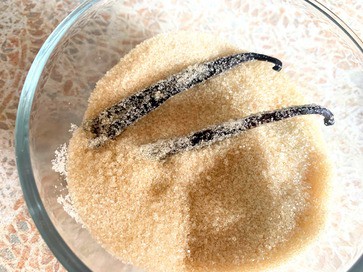
Maybe you finished up a pastry project that has left you with vanilla pod fragments. Perhaps you have spent vanilla beans from making homemade vanilla extract. Either way, one of these ideas is bound to inspire you to turn something from what’s often considered nothing.
If your pods are coming from a near-empty jar of extract, then yes, the alcohol has extracted everything good from those fragrant orchid beans. However, they’ve been marinating in their own extract which makes them fair game. Don’t let them go to waste!
WATCH THE VIDEO
If you’re more of a visual learner, here is the accompanying video for this post. I’m more active on YouTube these days than I am on here, so be sure to subscribe to my channel if you consider yourself old-fashioned at heart and would like to follow along.
By the way, some of these links are affiliate links. Here’s my full disclosure, but it basically means I get a small kickback at no additional cost to you.
Now, let’s get on with it. Here are eight ways to reuse vanilla bean scraps:
1. MAKE VANILLA EXTRACT
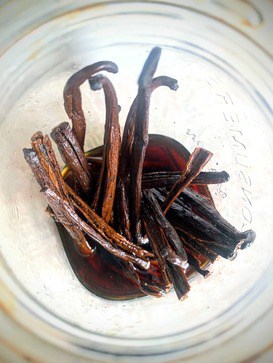
This first option requires a lot of vanilla beans. Like, 1oz worth of vanilla beans for the deepest vanilla flavour, though I often go with far less to stretch my dollar. If you’ve never tried making your own vanilla extract from scratch before, you should start! Homemade vanilla extract is a joy to use and makes a delightful gift.
If this is the route you want to go with your vanilla beans, then one thing you can do is freeze the pods until you have enough to start the process. Waiting to have enough vanilla beans for an extract can be hard though, so if you’re not the most patient person in the world, you can buy extract-grade vanilla beans, which are cheaper than the ones you bake with.
If you’re coming from the vanilla extract camp, the pods that you used to make the extract can be used again for a new batch. Mind you, those beans will definitely need some fresh pods to ensure batch number two is just as good as the first!
RELATED: A Recipe for Homemade Vanilla Extract
2. FLAVOUR SUGAR
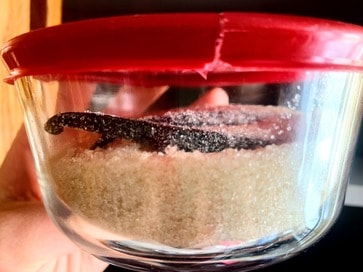
This is one of my favourite ways to use up vanilla bean discards. Vanilla sugar is always such a treat to have on hand. I grew up in a German household and remember one grocery store outing where my mother looked high and low for vanilla sugar so she could have it for one of her recipes. Yes, you can buy vanilla sugar!
This flavoured sugar can be used in place of regular sugar in baking recipes where the vanilla can really shine, like shortbread or sugar cookies. It’s also lovely stirred into a mug of Earl Gray tea or a matcha latte.
The best part? It’s ridiculously easy to make. Just add your beans to a container with one to two cups of sugar and let it sit for a week. I often let it sit longer and only remove the beans when I need the sugar for something. I love making things you can set and forget!
3. MAKE VANILLA ICE CREAM
Is there anything better than a good old-fashioned scoop of homemade vanilla ice cream? Here’s how I make my own from scratch with the help of my trusty Cuisinart ice cream maker.
Begin by whisking 8 egg yolks and a 3/4 cup of sugar until the mixture becomes the palest yellow. This takes a while, so if you’re not used to whisking, a hand mixer will do the trick!
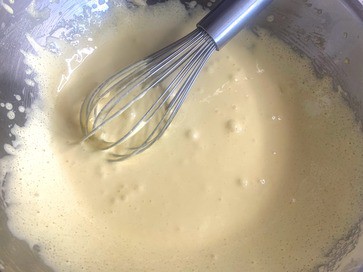
the palest yellowNext, gently heat 3 cups of cream until it’s hot and barely simmering. Be careful not to heat the cream over too high a temperature to avoid scalding the cream, and stir it frequently for the same reason.
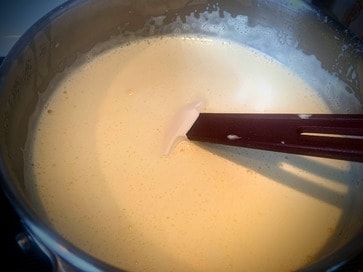
Once the cream is hot, it’s time to temper the egg mixture, which is to say, to gradually acclimate them to the high temperature to avoid the yolks from getting shocked and curdling. To do this, whisk in the hot cream bit by bit until more than half has been added. Then, transfer the mixture back to the pot for thickening.
Over medium-low heat, stir the cream continuously. After a few minutes, test for doneness by coating the back of a cooking spoon in the mixture and running your finger over it, making a line. If the line blends back in with the cream, continue heating the crème anglaise.

Should the line hold true, remove the pot from heat and if you’re extra savvy, dip the bottom of the pot in a sink full of ice water to put a stop to the heat.
Transfer the crème anglaise to a container and add the vanilla bean leftovers. Once the mixture has cooled down enough, move it to the fridge and allow it to infuse overnight. If the bowl of your ice cream maker isn’t already in the freezer, now is a good time to get it in there!
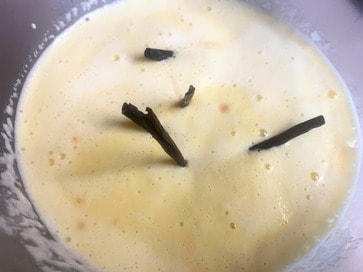
The next day, fish out the vanilla pods and decide whether or not you want to run the mixture through a fine mesh sieve. If you’re like me and don’t care enough to do this, start running the ice cream machine and pour in the mix.
If it’s a bit curdled (which can happen if you skip the dipping-the-pot-in-ice-water step) don’t be dismayed. Once it’s frozen, no one will notice. Allow the machine to run until you’re left with a beautiful, rich old-fashioned vanilla ice cream.
4. MAKE A SIMPLE SYRUP
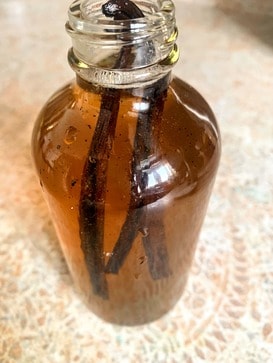
Are you a fan of vanilla lattes or London fogs? Learn how to make your own vanilla syrup at home! While convenient, commercial vanilla syrups are often artificially flavoured and full of preservatives to help stabilize the shelf-life. Artisan-crafted syrups are a much better route to go, but they’re more costly. With your vanilla bean scraps, you can make a fine syrup that won’t hog up your shelf space for months to come.
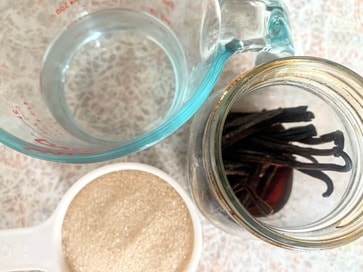
Making a simple syrup is simply a matter of bringing equal parts of sugar and water to a quick boil so that all of the sugar dissolves. I like doing a 1:1 ratio when I’m making syrups. Once the sugar is dissolved, remove the syrup from the element, add the vanilla remnants, and let it cool.
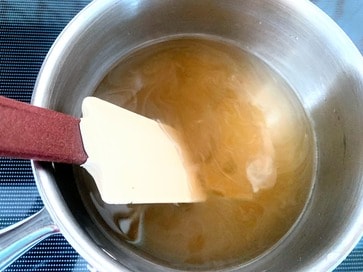
Once the syrup is cool, transfer the syrup to a glass jar or bottle with the pods, and label it (so you remember what it is!). Refrigerate it and use it liberally before it expires in a month’s time. Use it to sweeten iced coffees, iced tea, and lemonade, or even in baking to moisten sponge cake.
RELATED: DIY Flavoured Simple Syrups
5. SCENT YOUR HOME
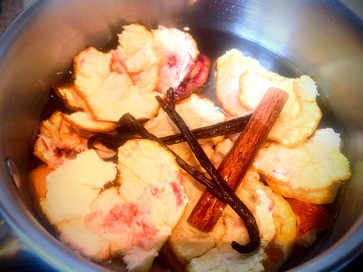
Want a quick and natural way to make your home smell like a slice of heaven? Fix up a stovetop potpourri with a couple of cups of water, your vanilla beans and some orange peel scraps for a lovely creamsicle-inspired aroma.
Bring it to a boil and reduce it to a simmer. Enjoy the lovely aromas and remember to turn the burner off before the water runs out! Play around with the fragrances by putting your own unique spin on them. Switch out orange for lemon, add cloves, cinnamon sticks or whatever you fancy.
6. POACH FRUIT
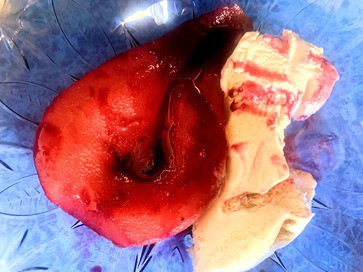
The next time you need a simple, yet elegant dessert to wow your dinner guests, try serving poached fruit!
The following recipe is inspired by Samin Nosrat in Salt, Fat, Acid, Heat.
Bring a bottle of red wine, a cup of sugar, a twist of lemon peel and the vanilla pods to a simmer with a pinch of salt. My go-to fruit for this recipe is pears, which get cut in half and slipped in, but any stone fruit will do.
Depending on what you use, the cooking times will vary. Apricots, for example, only need a couple of minutes, whereas a harder fruit like quince will take a couple of hours. Pears take around 20 minutes. Whichever fruit you use, it’s considered done when it’s easily pierced with a sharp knife.
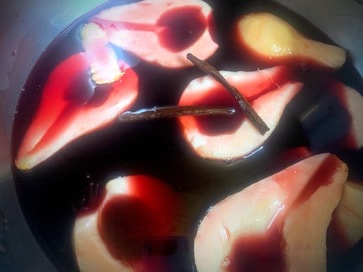
Once the fruit is in the liquid, cover it up with à circle of parchment that has a hole cut in the centre to release steam. When the fruit is ready, use a slotted spoon to remove them from the poaching wine.
Not one to let a good thing go to waste, the liquid gets brought to a boil in order to reduce it down to syrup. Once it reaches a pleasing consistency, remove it from the heat and strain it. Use the syrup to drizzle over the fruit. The leftover syrup is especially delicious poured over crepes!
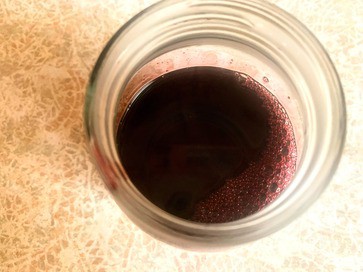
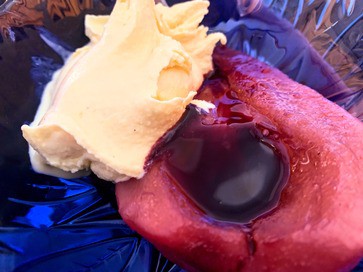
This dessert can be served with vanilla ice cream, honeyed Greek yogurt or ricotta. Or just enjoy it as is!
7. MAKE A POT OF TEA
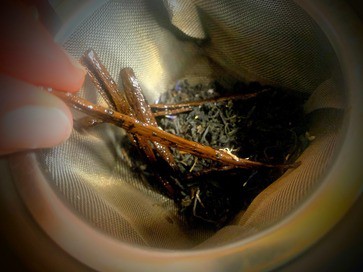
If you appreciate a good cup of tea, then here’s another way you can repurpose your vanilla bean pods. Add spent vanilla pods to a pot of black tea, like earl grey. Not very exciting, I know, but still delicious, nevertheless.
My favourite caffeine-free options to blend with vanilla are red rooibos, chamomile and red raspberry leaf tea. They always hit just the right spot, especially with a splash of milk!
8. WHIP UP A VANILLA SHEA BODY BUTTER
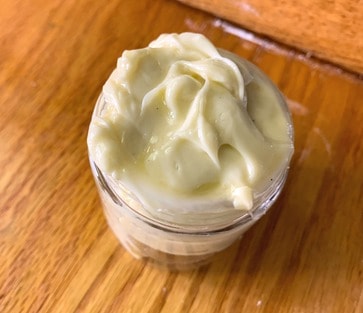
Out of all the ideas I’m presenting today, this one is my favourite, but it does take some planning and patience. Fortunately, this homemade body butter is simple to make and it’s ever so nourishing for the skin. Our skin is our largest organ, so it makes sense to treat it with toxin-free bath products. This lotion is so lovely and gentle that I even use it on my toddler, especially to help soothe his eczema flare-ups. Here’s how to make it.
Begin by making vanilla oil by infusing a half cup of organic extra virgin olive oil with the vanilla beans. Let it infuse for a week. You could gently heat up the oil with the vanilla to speed up the process, but I like doing things the slow way. There’s just something about having time as an ingredient that makes things better, I find.
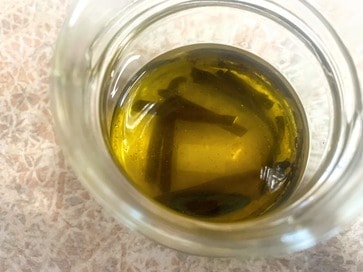
After a week of imparting its vanilla goodness to the oil, remove the pods, but leave the specks. I think they add to the beauty of the lotion, but if you really want to, you can strain it, too. Next, add 1/2 cup of shea butter and 1/4 cup of olive oil to a glass bowl set over a water bath. Once the shea butter has melted, remove it from the heat.
A sidenote about shea butter: The above link goes to Mountain Rose Herbs because I trust their products. There seems to be a fake shea butter trade on Amazon, so if that’s your preferred vendor, be wary of the bargains.
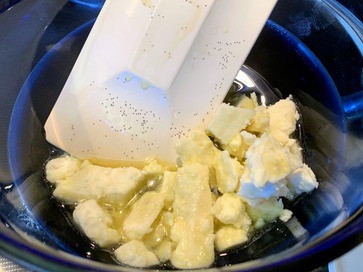
Transfer the bowl to the fridge until the mixture begins to set. In the winter, I just pop the bowl outside for 10-15 minutes and let the cold temperature work its magic.
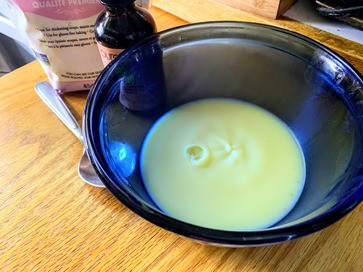
From there, get out a hand mixer and start breaking up the lotion. Once it starts softening, add a tablespoon of arrowroot powder. This helps cut the level of grease that this body butter would otherwise have. If you have a hard time finding arrowroot powder, cornstarch will also do the trick in a pinch. It’s not my favourite option though unless it’s a quality corn starch that isn’t made with genetically modified crops.
For added skincare benefits and to help extend the shelf life, add 5 drops of Vitamin E oil, but this is optional.
Finish whipping up the body butter with the new additions and then transfer it to a seal-proof container. I like using these glass jars, especially when I give homemade body butter out as a gift. The lotion may seem soft at this stage, but it will firm up once it’s finished coming to room temperature.
I really do love this lotion, and I hope you will, too!
9. USE SPENT BEANS TO FLAVOUR KEFIR OR KOMBUCHA
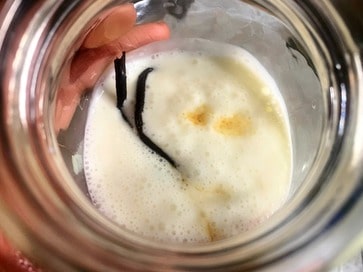
If you’re into gut health like I am, you probably drink your probiotics. If you aren’t drinking your probiotics, you should be! My two favourite ways to sneak them in daily are through milk kefir and water kefir, which I make in my own kitchen.
If you’re unfamiliar with kefir, both types require a special culture (called grains) which you can buy online through trusted sellers like Cultures for Health; at your local health food store; or even on Kijiji. Milk kefir is tangy like yogurt and water kefir is basically a healthy soda. Both are lovely when they’re infused with vanilla bean remnants during a second fermentation.
Kombucha, on the other hand, is caffeinated because it’s brewed with tea and sugar. Similar to kefir, it also requires a culture, called a SCOBY (symbiotic culture of bacteria and yeast) to make it. I’ve never made it, but I’ve read all about the process in The Big Book of Kombucha. During the second fermentation, pop your vanilla beans in for a delicious vanilla-flavoured kombucha.
RELATED: All About Milk Kefir
USING VANILLA BEAN LEFTOVERS
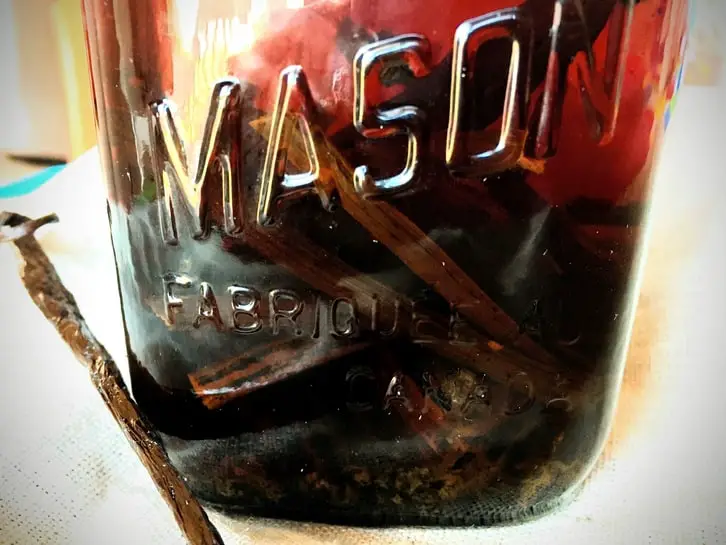
I can think of so many more ways to use up those spent vanilla pods. Infusing honey. Making vanilla salt for finishing desserts. Grinding it up and mixing it in with coffee grinds for a homemade exfoliating scrub…
In any case, I hope I inspired you to give your vanilla pod scraps a new lease on life. Which one are you most excited to try out first? Did this list spark any ideas of your own? I hope you’ll let me know in the comments below!
SHOP THIS POST
Salt, Fat, Acid, Heat by Samin Nosrat
OTHER FRUGAL KITCHEN POSTS YOU MIGHT LIKE
Kitchen Staples Our Great-Grandmothers Never Bought
11 Frugal Kitchen Tips to Waste Less & Save More
Making Homemade Broth from Kitchen Scraps
PIN IT FOR LATER

Love and gratitude,


Leave a Reply