
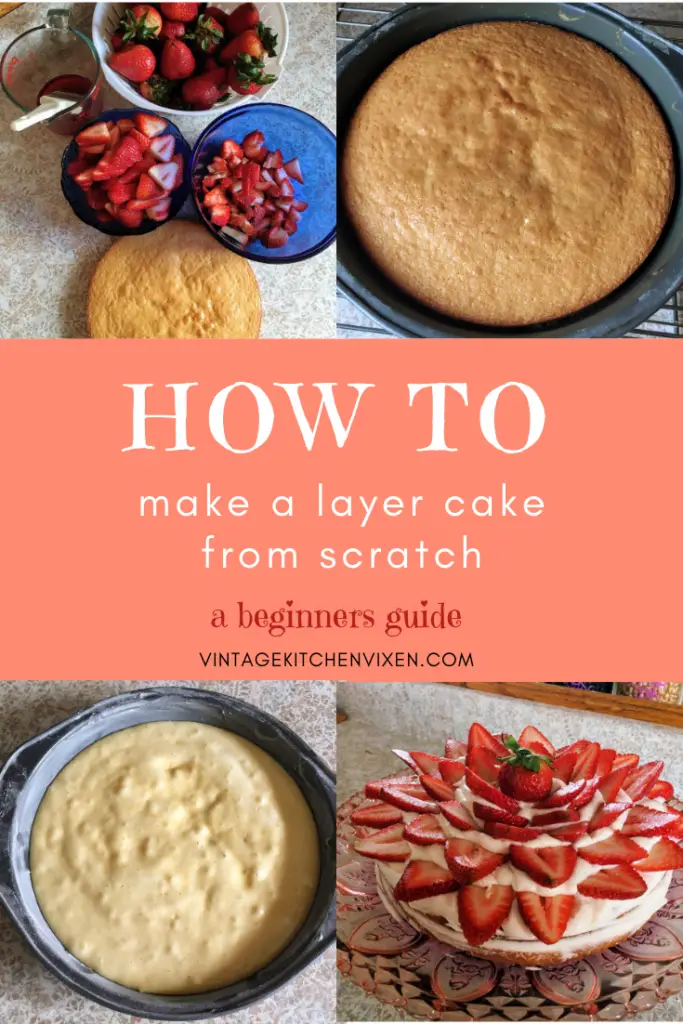
Layer cakes are the favourite go-to for birthdays and special occasions. Learn how easy it is to make your own layer cake from scratch. All you need is a few ingredients and a couple of hours!

MAKING A LAYER CAKE FROM SCRATCH
Every June in Québec, people go crazy over les fraises du Québec. They’re these beautiful small strawberries that are full of flavour and seem to be everywhere you look. If you go into a bakery, they advertise that their strawberry tarts are made with Québec strawberries. Anyone who uses them basically shouts into a megaphone that their strawberries are local. It’s madness, but as the days get warmer and my own strawberry plants start developing, I find myself excited for the approaching season.
Unable to wait for this special season, I bought a half dozen pints of inferior strawberries on sale and didn’t know what to do with them. I could have frozen them for smoothies, made a jam, mixed up a batch of pastry cream to make strawberry tarts, or infused a pitcher full of iced tea with sliced berries, but I wanted to do something more. Mother’s Day was lurking around the corner and I was hosting two of the mothers in my life for dinner. For a special occasion like that, I knew I needed to make a layer cake from scratch.
MAKING A HOMEMADE LAYER CAKE: A VIDEO
If this is your first time visiting the kitchen, you’re about to find out why I call my kitchen vintage… If you like my style, please consider subscribing to the Vintage Kitchen Vixen YouTube channel!
This post may contain affiliate links, which means I make a small commission at no cost to you.
LAYER CAKES ARE EASY TO MAKE
Layer cakes can get complicated, but when you’re prepping for a special occasion, it’s best to keep it simple. There’s no mystery to making a layer cake from scratch when the aim is to make it as easy as possible. And no, we won’t be cheating by using boxed cake mix. I mean, take a look at the back of one of those boxes and tell me what all of those ingredients are. You’ll get bonus points if you can pronounce everything properly! No, our homemade layer cake is comprised of four elements: genoise sponge cake, simple syrup, a filling (based on whatever theme you’re going for) and whipped cream. Let’s break it down.
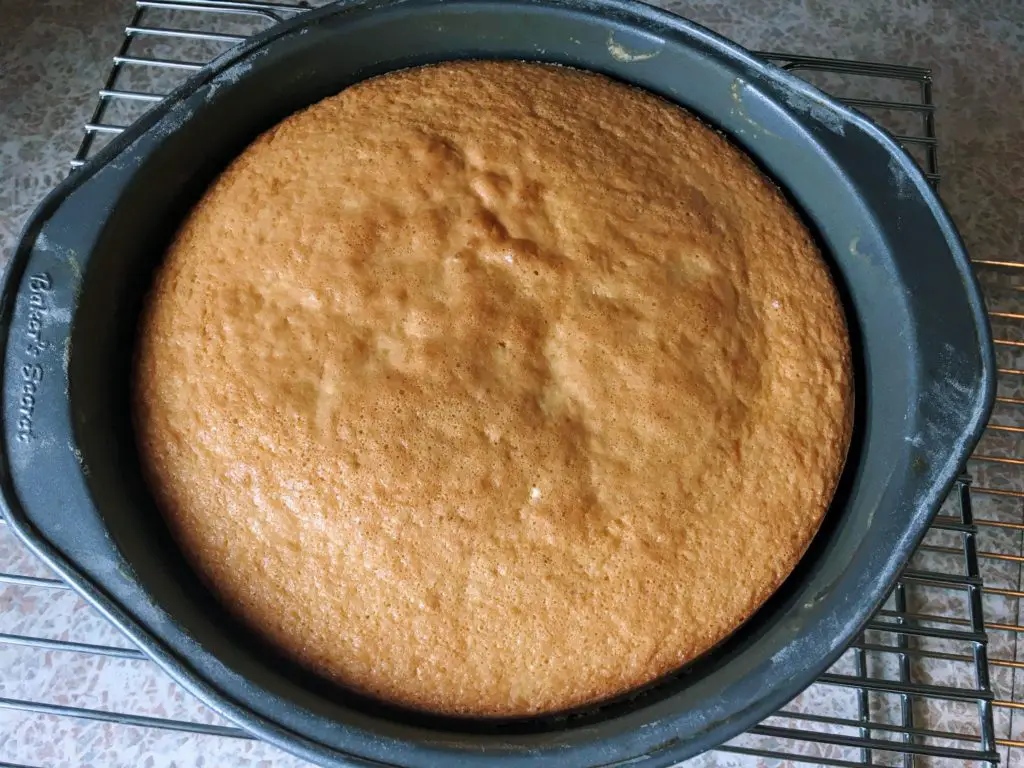
GENOISE SPONGE FOR A LAYER CAKE
Genoise is a French sponge cake recipe that’s on the drier side compared to other sponge cakes. The dryness is precisely why I like it. Each layer needs to be moistened with syrup, which is an opportunity to add flavour to every bite. For the strawberry layer cake I made for Mother’s Day, strawberry simple syrup took it up a notch. Also, genoise does a good job of absorbing juicy fillings, which was good news for my layer of strawberries.
Genoise asks for four ingredients: eggs, sugar, flour and butter. If you want to go wild and make a chocolate genoise, I can vouch for this recipe over here. The thing about genoise is that it leavens by the power of eggs, so it’s not the thickest cake on the block, but if you have two cake pans and double the recipe, problem solved. Still, there’s nothing wrong with a one-pan cake. It’s humble, down-to-earth, rustic.
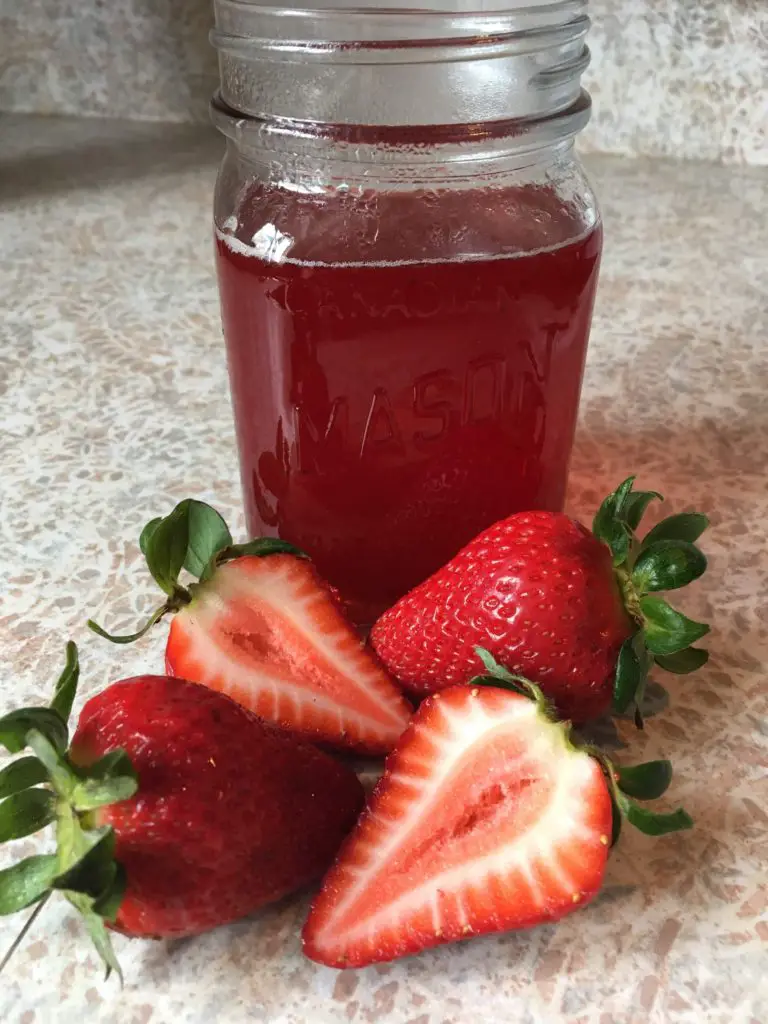
SIMPLE SYRUP
While the genoise is in the oven doing it’s thing, make the syrup. It doesn’t take long. I have a whole post on making flavoured simple syrups, but here’s a recap. Boil water and sugar together for five minutes in a 1:1 ratio. Since this is a quick syrup, boil your flavouring in with the syrup or keep it plain. If you’re not in a rush, you can add your flavourings afterward for an infusion. Don’t overthink it–it’s syrup.
THE FILLING
What kind of layer cake do you want to make? This question decides what the filling will be. For my strawberry layer cake, I used sliced strawberries. For black forest cake, I like thickening a jar of pitted red sour cherries in syrup and divvying them up between the layers. What about a peaches & cream cake? Or raspberry apricot?
WHIPPED CREAM
This is the easiest cake icing, which is why this is the one I’m zeroing in on. If you want to make a buttercream or a whipped ganache, be my guest. All I ask is that you don’t go out and buy one of those tubs of pre-made frosting. Okay? Okay, so, whipped cream. If you serve your cake right away and plan on eating every morsel, disregard the next little bit. The thing is, whipped cream weeps. Over time, water is released, so it loses volume and doesn’t look pretty. The workaround? Add gelatine. There’s more than one way to skin the cat, but that’s the method I use–especially if I’m making the cake a day in advance.
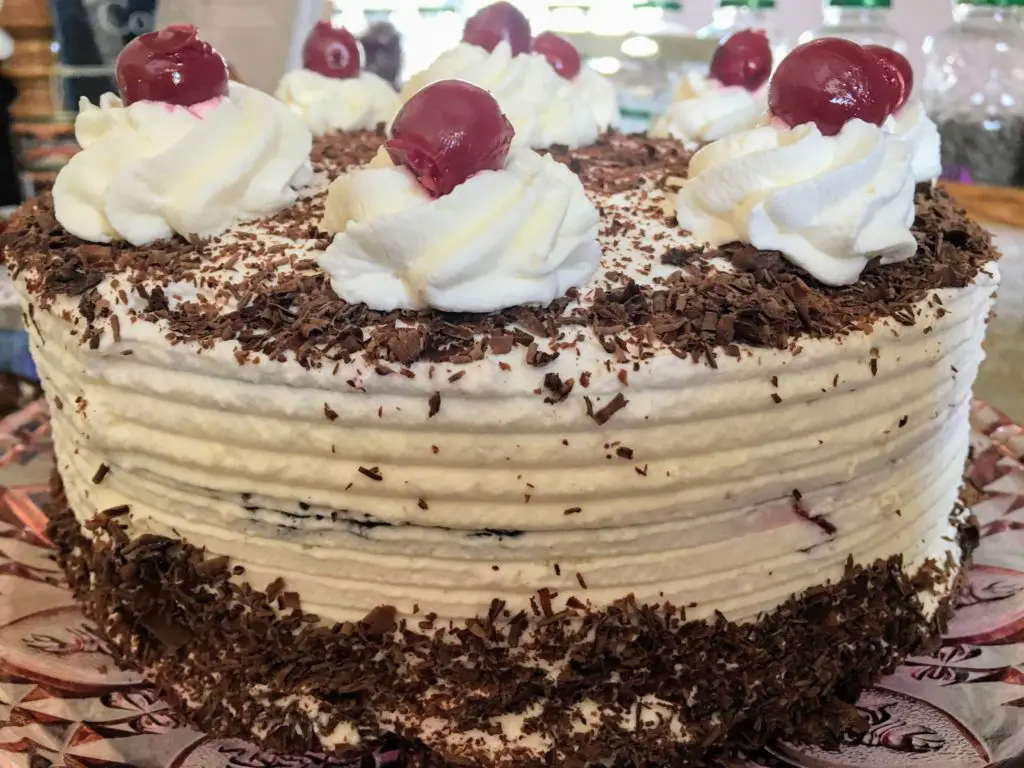
ASSEMBLING A LAYER CAKE FROM SCRATCH
So there you have it. The four key elements for assembling your layer cake from scratch. Now, where do we start?
Bake the genoise (see recipe below).Prepare the syrup while the genoise is in the oven.Allow the genoise and the syrup to cool.Bloom the gelatine in water and gently heat it to get out the lumps. Beat the whipped cream until it has soft peaks and then temper the gelatine with a bit of cream before adding it to the mixing bowl. Continue to beat until you get hard peaks. This won't take long, so don't walk away–you don't want your cream to churn to butter, do you?Using a serrated knife, slice the genoise in half and trim off the top of the cake to even it out.Place the bottom layer on a rotating cake stand (this is what I use) and brush it with syrup. Be generous.Add the filling and a layer of whipped cream.Add the next layer and repeat.Brush the final layer with syrup and proceed to coat the cake with the remaining whipped cream. You'll want an icing spatula for this.Decorate as you see fit. Try using elements of your filling. Play with chocolate shavings, sprinkles, toasted coconut or crushed Oreo cookies. Pipe a border or rosettes. Wilton has a bunch of piping tutorials that you can check out on their site, but there's only so much you can do with whipped cream, even if it is stabilized.Transfer to a cake plate and keep refrigerated until ready to serve.
TIME TO MAKE A LAYER CAKE!
It’s really that easy. The longest part is waiting for everything to cool, but that gives you the opportunity to clean up and work on something else while you wait. Like I said, this is just a formula, but it leaves you a whole lot of room to experiment. So tell me, have you made your own layer cake from scratch before? What are some of your favourite combinations? Are there any tips and tricks you’d like to share? Leave a comment below and let me know!
SHOP THIS POST
GENOISE SPONGE CAKE INGREDIENTS
Makes one round 9″ layer cake
3 eggs, room temperature
70g (1/4 cup + 2 tbsp) sugar
100g (1/2 cup + 2 tbsp) cake flour
43g unsalted butter, melted
butter, parchment and flour for prepping the cake pan
GENOISE SPONGE CAKE INSTRUCTIONS
Preheat the oven to 350ºFTrace and cut out a circle of parchment, grease the cake pan with butter, insert the parchment cut out and dust with flour.Using the whisk attachment of a stand mixer, beat the eggs and sugar together until the mixture triples in volume, reaching the ribbon stage. The ribbon stage is attained when you test the batter and it temporarily holds a shape.Sift the flour and fold it into the egg mixture in stage until incorporated.In a separate bowl, ladle out some of the batter and fold it with the melted butter. Return the buttery batter to the main mixing bowl and gently fold it with the remaining batter.Pour the batter into the prepared cake pan and bake for 30 minutes. Check for doneness by inspecting to see if the edges have sprung away from the pan or by inserting a toothpick into the centre.Allow to cool on a wire rack for ten minutes before removing from the pan.
STABILIZED WHIPPED CREAM RECIPE
2 tsp gelatine powder
2 tbsp water
2 cups 35% cream
2 tsp vanilla
5 tbsp sugar
STABILIZED WHIPPED CREAM INSTRUCTIONS
- Bloom the gelatine in a small microwave safe bowl by adding the water.
- Over a double boiler, gently heat the gelatine mixture until the granules dissolve. Remove it from the bain marie, but do not leave it to cool.
- Add the cream, vanilla and sugar to a mixing bowl and with a whisk attachment, beat it until it reaches soft peaks.
- Temper the gelatine by adding a couple of spoonfuls of whipped cream. Combine it well and then return it to the mixing bowl.
- Once it reaches stiff peaks, stop the mixer and store it in the fridge until ready to use.
PRINT RECIPE FOR GENOISE SPONGE CAKE
Classic Genoise Sponge Cake
Ingredients
- 3 eggs room temperature
- 70 g (1/4 cup + 2 tbsp) sugar
- 100 g (1/2 cup + 2 tbsp) cake flour
- 45 g unsalted butter melted
- butter, parchment and flour for prepping the cake pan
Instructions
- Preheat the oven to 350ºF/175ºC.
- Trace and cut out a circle of parchment, grease the cake pan with butter, insert the parchment cut out and dust with flour.
- Using the whisk attachment of a stand mixer, beat the eggs and sugar together until the mixture triples in volume, reaching the ribbon stage. The ribbon stage is attained when you test the batter and it temporarily holds a shape.
- Sift the flour and fold it into the egg mixture in stage until incorporated.
- In a separate bowl, ladle out a portion of the batter and fold it with the melted butter.
- Return the buttery batter to the main mixing bowl and gently fold it with the remaining batter.
- Pour the batter into the prepared cake pan and bake for 30 minutes. Check for doneness by inspecting to see if the edges have sprung away from the pan or by inserting a toothpick into the centre.
- Allow it to cool on a wire rack for ten minutes before removing from the pan.
Notes
- Eggs can be brought to room temperature by submerging them in warm water. Alternatively, you can start out by whisking the eggs and sugar over a bain marie until it’s room temperature.
- When baking, it’s best to measure ingredients by weight rather than volume.
PRINT RECIPE FOR STABILIZED WHIPPED CREAM

Stabilized Whipped Cream
Equipment
- Stand Mixer
- Whisk Attachment
Ingredients
- 2 tsp gelatine powder
- 2 tbsp water
- 2 cups 35% cream
- 2 tsp vanilla
- 5 tbsp sugar
Instructions
- Bloom the gelatine in a small microwave safe bowl by adding the water.
- Over a double boiler, gently heat the gelatine mixture until the granules dissolve. Remove it from the bain marie, but do not leave it to cool.
- Add the cream, vanilla and sugar to a mixing bowl and with a whisk attachment, beat it until it reaches soft peaks.
- Temper the gelatine by adding a couple of spoonfuls of whipped cream. Combine it well and then return it to the mixing bowl.
- Once it reaches stiff peaks, stop the mixer and store it in the fridge until ready to use.
Notes
- If you can, chill the mixing bowl in the freezer for a few minutes.
- Whipped cream likes being kept cold. Once stabilized, whipped cream will keep for 3-4 days.
PIN IT FOR LATER
Love and gratitude,


Leave a Reply